Configure reservation widget
- Customize your foratable widget to match your restaurant's design and brand identity
- Use the widget link for your website, social media, newsletter, QR codes, or your Google Business Profile
- Integrate the widget via HTML, popup, or inline on your website
Your booking widget is a key part of the reservation process and should visually match your restaurant.
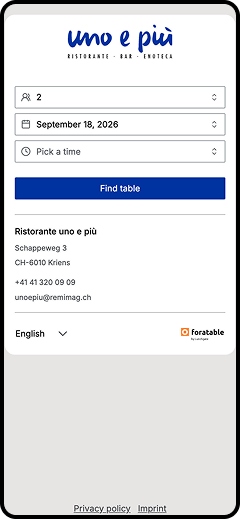
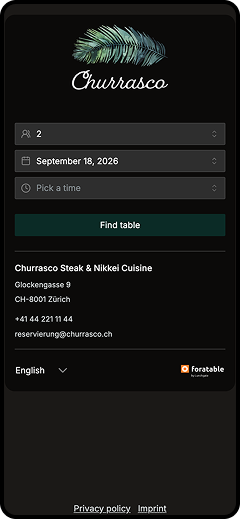
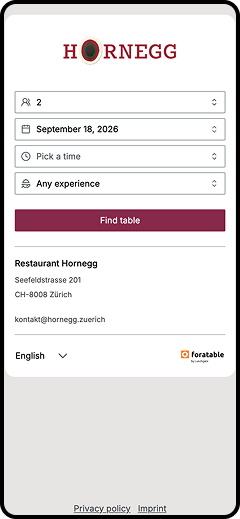
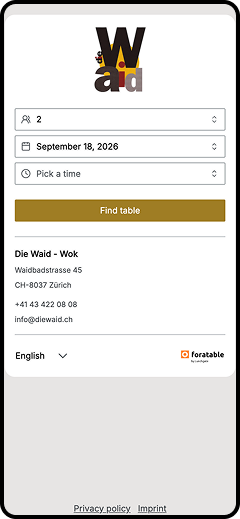
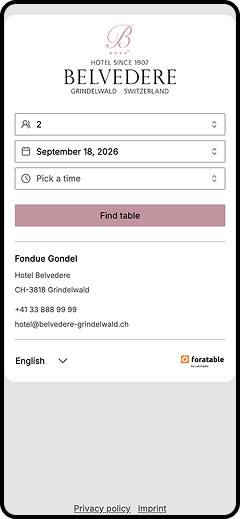
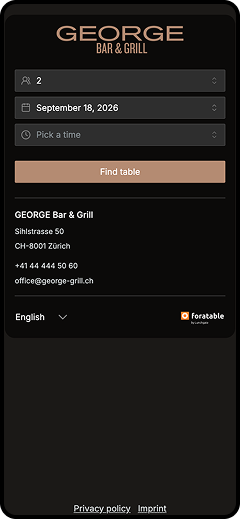
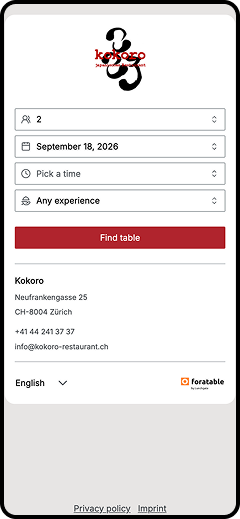
You can find the settings under Configuration → Widget.
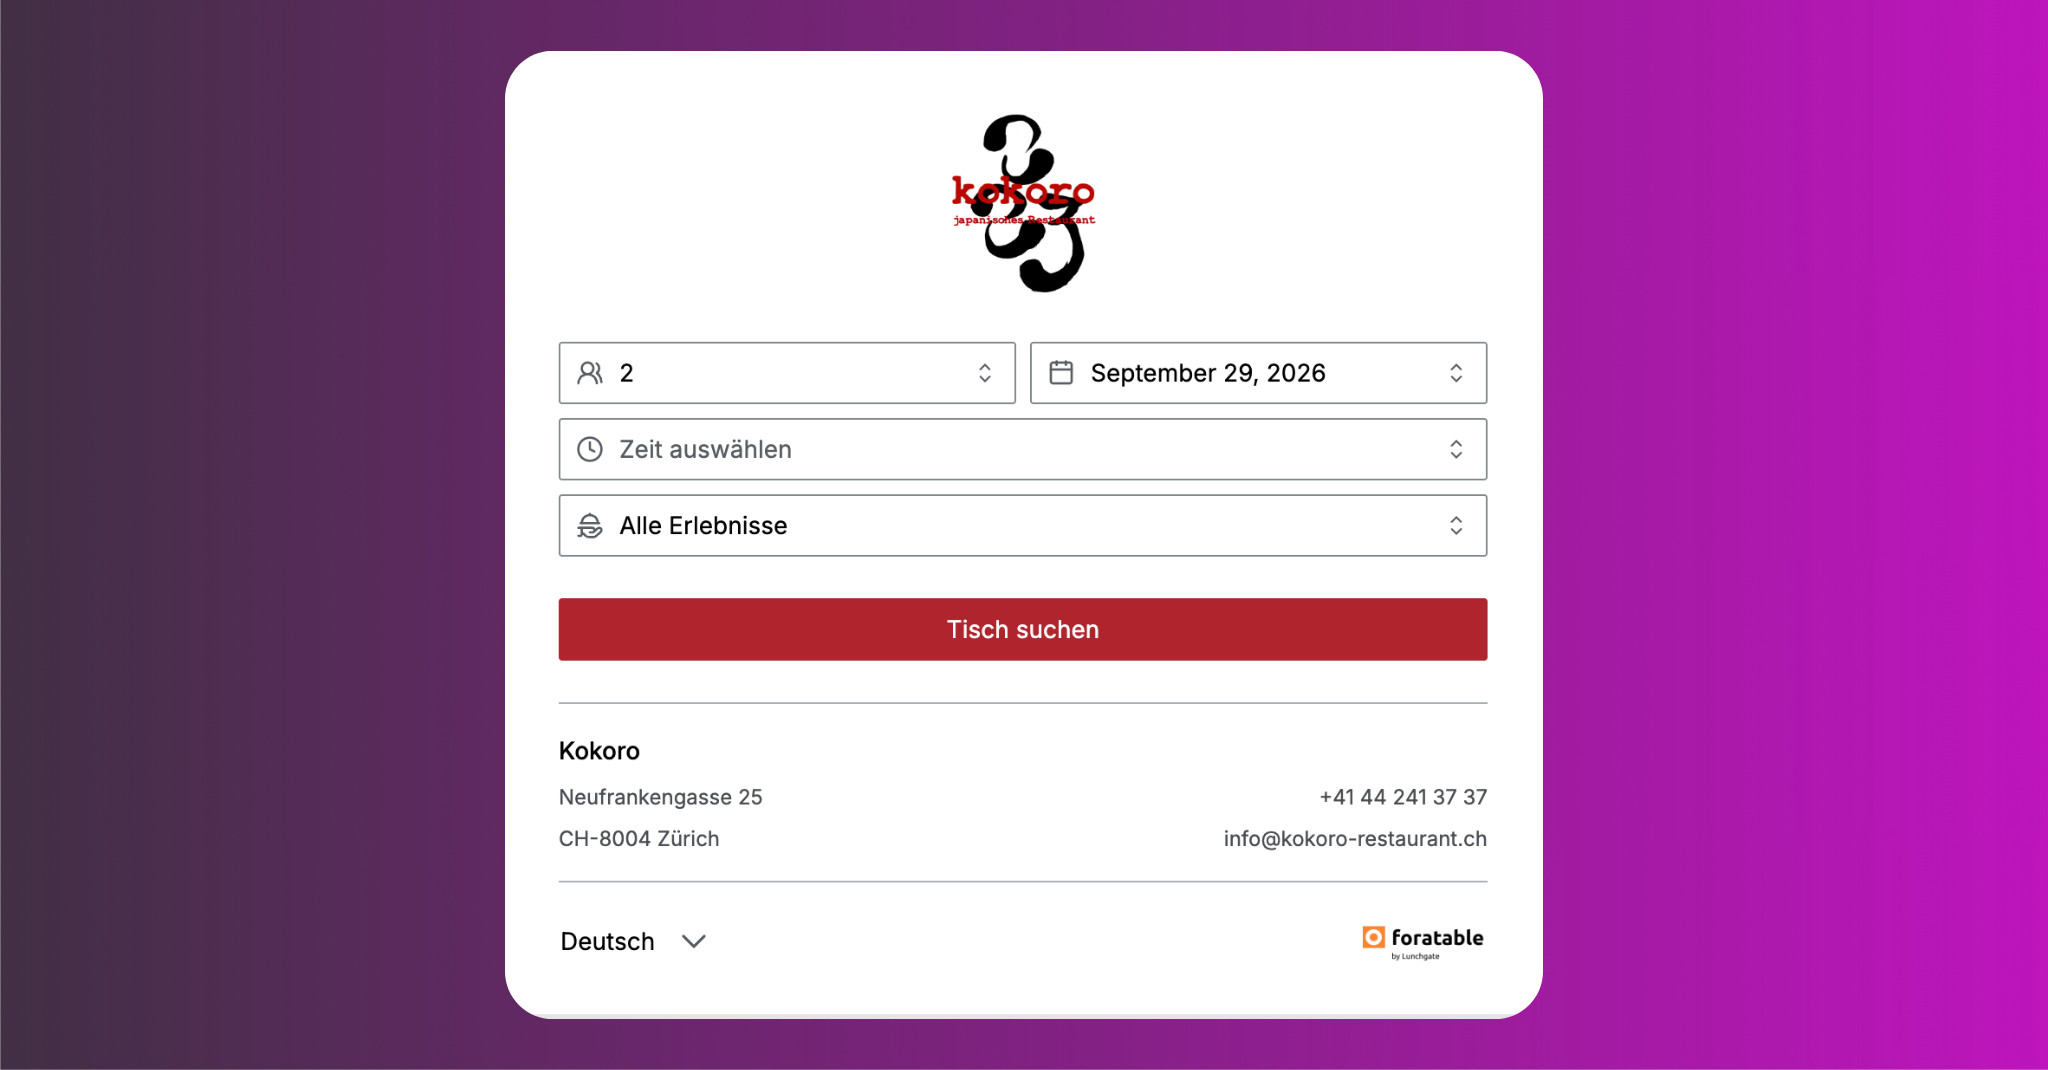
As soon as you open this section, you can access your current widget and see how it looks to your guests.
The widget configuration is divided into four areas:
- Personalize
- Embed codes
- Alternative restaurants
- Advanced
Prefer a video?
Webinar “Configure widget now” (in German)
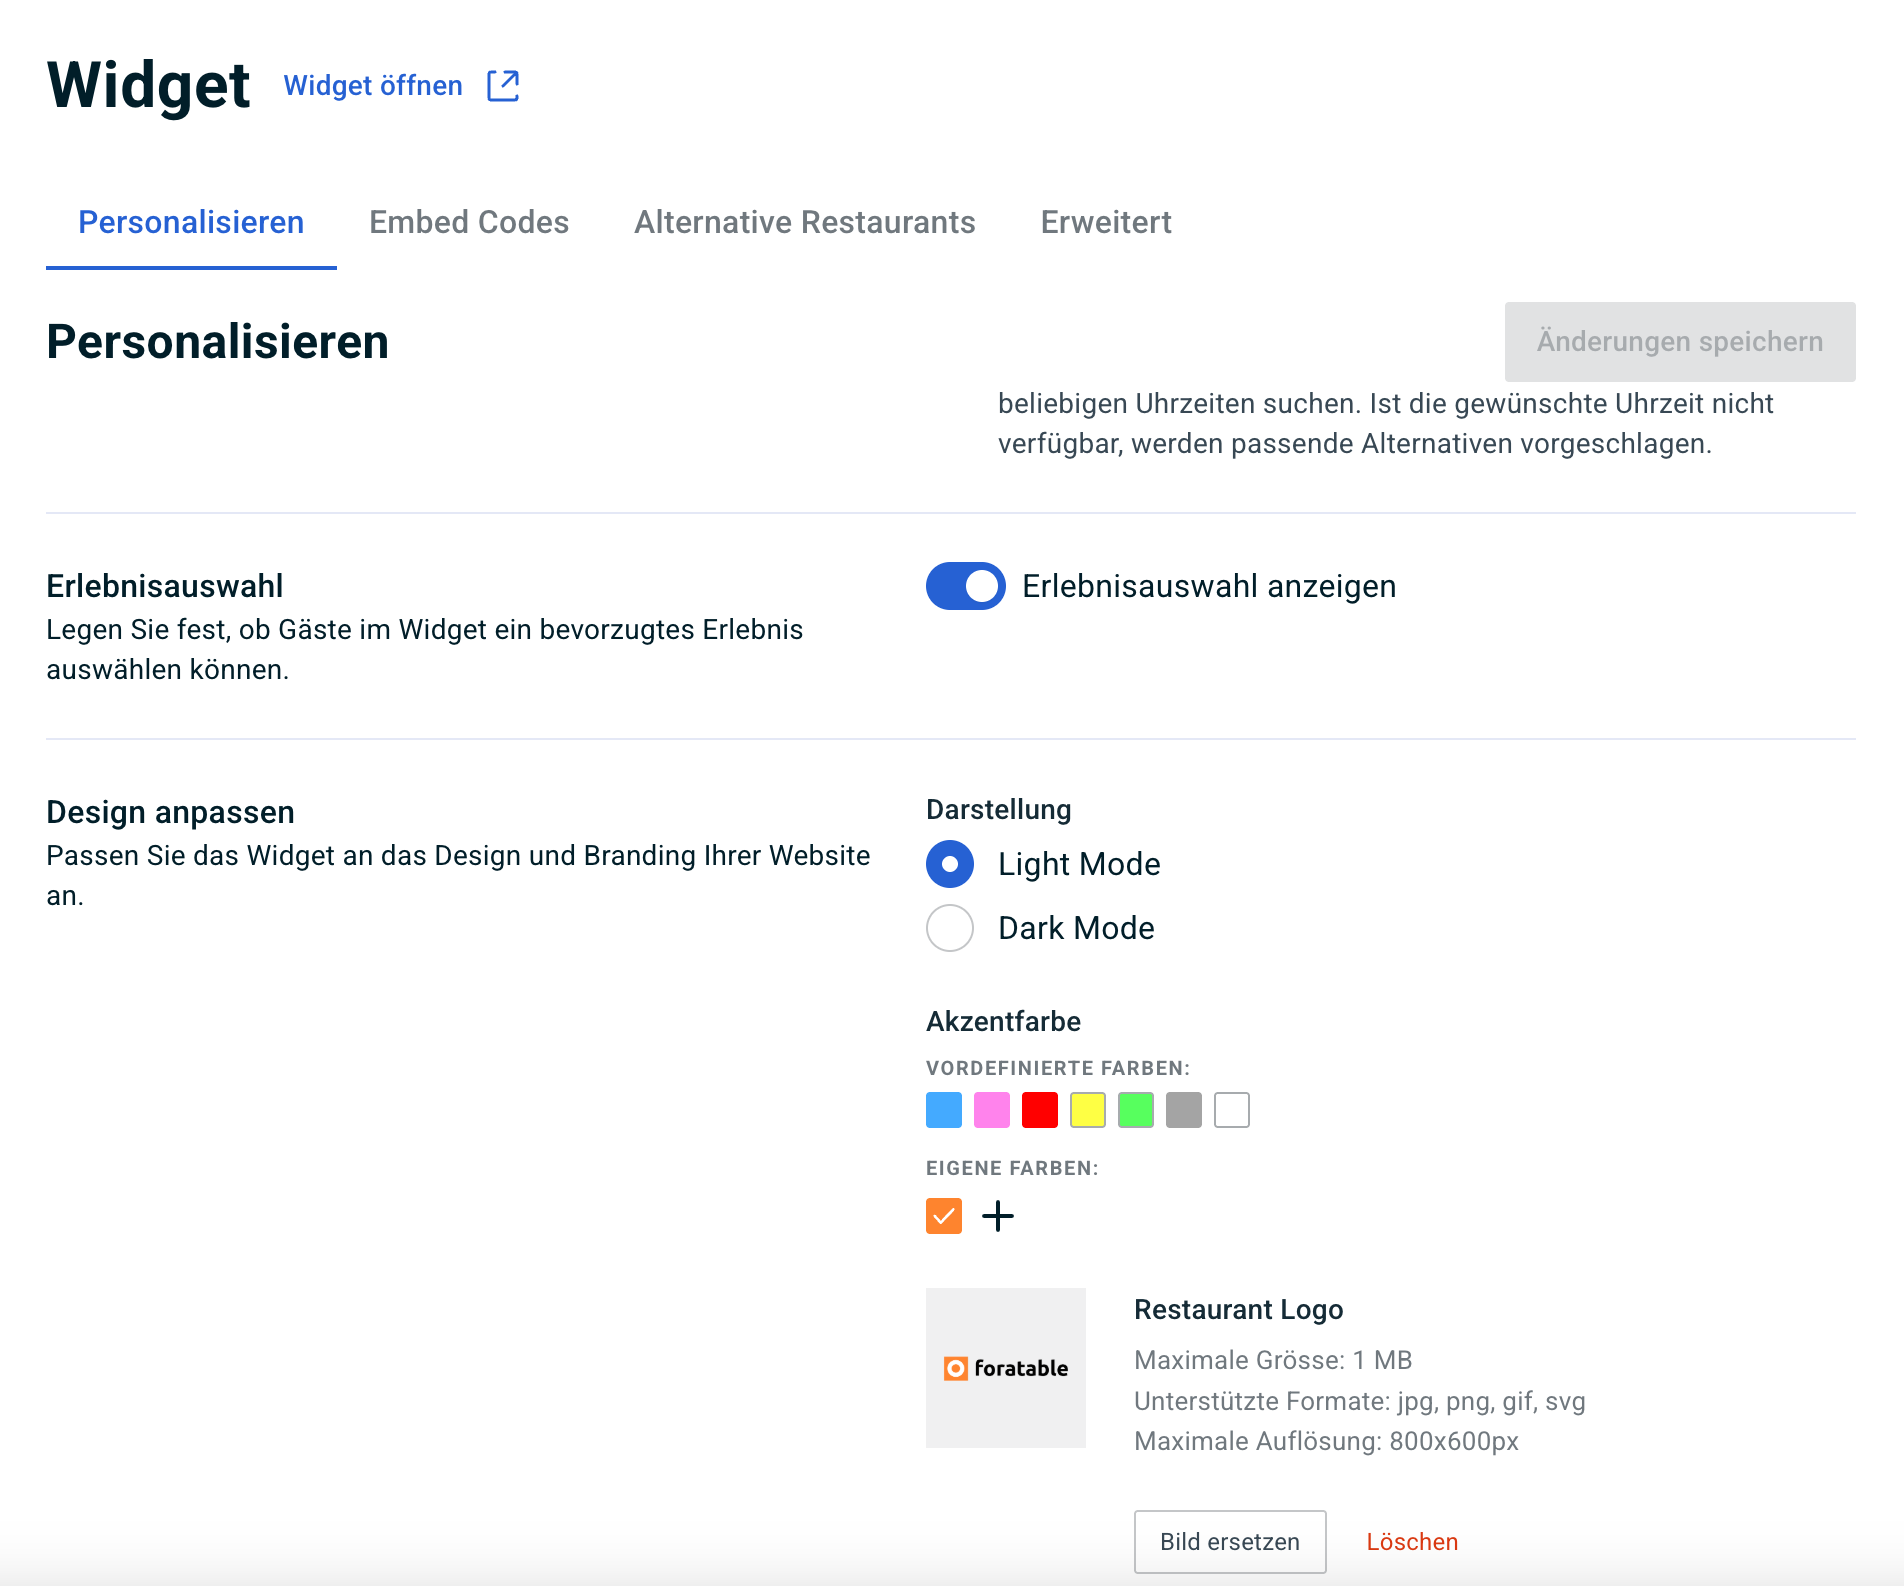
A. Personalize widget
Under Customize you can adapt the widget to your restaurant's appearance and brand identity.
Welcome message
You can optionally add a welcome message.
You can enter the text in four languages:
- German
- English
- French
- Italian
Use the welcome message for a brief greeting or to provide information about the reservation process, for example.
Date & time selection
Under Date & time selection define which dates and times your guests can select in the widget.
Fully booked or closed days remain selectable. Guests can continue the reservation process and will be shown suitable alternatives if their original choice is not available.
You have two options available:
Follow my schedule
Guests can only select the dates and times you have configured in your schedule.
This option is suitable if you want the selection in the widget to correspond as closely as possible to your saved shifts and opening hours.
Ignore my schedule
Guests can select any future date and search for a reservation within a time range defined by you.
To do this, you define:
- earliest time
- latest time
The advantage of a larger time window: If the originally requested time is not available, the widget can immediately suggest suitable alternatives. This increases the chance that the guest will still select an available time and make a reservation with you.
This option is particularly suitable if you want to offer your guests more flexibility when selecting a time.
Customize design
Two layouts are available for your widget:
- Light mode
- Dark Mode
Choose the option that best suits your website and your restaurant's branding.
Define theme color
The theme color is used for key call-to-action elements in the widget, among other things.
You can:
- select a color from the existing color palette
- or use the color picker to define your exact brand color
It is best to use the same accent color as on your website so that the widget integrates as seamlessly as possible into your online presence.
Add restaurant logo
Finally, you can upload your restaurant logo logo.
Make sure that the logo:
- is easy to read
- matches the selected light or dark mode
- has a suitable background
Always check your widget in the preview after making adjustments.
Pay attention to the resolution of your image file. It should be 800 × 600 px.
B. Embed codes and reservation link
Once your widget is personalized, you can go to Embed codes to determine how and where you would like to use it.
Pre-configuration
You can pre-configure the reservation process, for example for:
- a specific experience
- a specific date
This allows you to guide guests directly to a suitable reservation. If you would like to use this feature, select the corresponding checkbox to apply the restriction after entering the desired experience or date.
Widget link
Here you can find your direct widget link.
You can use this for, for example:
- other social media profiles
- newsletters
- QR codes
- other digital channels
Integrate widget on your website
Various integration options are available for your website:
- HTML
- Popup
- Inline
Our recommendation: Popup
This opens the reservation widget as an overlay on top of your website.
This has several advantages:
- The guest remains on your website throughout the reservation process.
- The user experience is not interrupted by a page redirect.
- The widget works perfectly on various devices.
- You don't need any extra dedicated space on your website.
Update your reservation link on Google
If you use the direct link to your foratable widget in your Google Business Profile , you should check that the current widget link is stored there.

To do this, first copy your widget link under:
Configuration → Widget → Embed Codes
Then:
- Open the Google Business Profile of your restaurant.
- ClickBookings.
- Scroll to the section Links to your online booking tools.
- Add your current foratable widget link there or update an existing link.
This way, guests who find your restaurant via Google and click on the reservation link will be taken directly to your current foratable booking interface.
Important: The widget link stored here is independent of a native Reserve with Google integration. Both a reservation provider and a direct link to your online booking tool can be displayed in your Google Business Profile.
C. Share the widget with your webmaster
You don't need to manually copy and explain the technical information.
You can send the required information directly from foratable using the "Share with webmaster" envelope icon.
To do this:
- Click Share with webmaster.
- Enter your webmaster's email address.
- Select the desired language.
- Specify which integration method should be used on your website.
This ensures your webmaster receives the necessary information for the integration directly.
D. Alternative restaurants
Under Alternative restaurants you can add additional establishments.
This is particularly useful if you operate multiple restaurants.
If your restaurant is, for example, for a specific date:
- fully booked
- closed
- unavailable
an alternative restaurant can be displayed to the guest.
To add an alternative restaurant, you will need its Restaurant ID.
You can find this in the respective foratable account under:
Restaurant settings → Restaurant ID
Then, enter the corresponding ID under Alternative restaurants .
This is how you can redirect guests to your other locations instead of losing them when availability is limited.
E. Advanced settings
Under Advanced you will find additional options for your reservation process.
Newsletter opt-in
You can enable a Newsletter opt-in in the widget.
This allows guests to agree to receive marketing communications from your restaurant during the reservation process.
You can personalize the corresponding text yourself.
A standard text is already available as a starting point, which you can adapt to match your brand's tone.
Enable terms and conditions
Additionally, you can integrate your terms and conditions into the reservation process.
This is particularly relevant if, for example, you:
- have a no-show policy
- charge no-show fees
- require prepayments
- have other binding reservation terms
This ensures that guests see and accept the relevant terms during the reservation process.
Note No-show fees and prepayments are features of our PAY offering and are not included in every subscription.
Our recommendation
Once you've finished the configuration, take a moment to test your widget from a guest's perspective.
Check the following in particular:
- Does the design match your website?
- Is your logo clearly visible?
- Do light and dark modes work as expected?
- Does the accent color align with your brand identity?
- Are all texts available in the required languages?
- Do the links and pre-configurations work correctly?
- Are alternative restaurants displayed correctly?
- Are the newsletter opt-in and terms and conditions configured correctly?
The better your widget matches your restaurant's branding and reservation process, the more seamless the experience will be for your guests.