First onboarding: Configuring your foratable
- In your first onboarding session, you will set up the essential foundations of your foratable account.
- This includes restaurant details, team, communication, widget, floor plan, labels, as well as shifts and availability.
- The goal is to prepare your system for daily reservation management.
What can you expect from the first onboarding?
In the first training session, we will work together to set up the essential foundations of your foratable account. The goal is to ensure your reservation system is correctly configured before you start your daily operations.
Goals of the first training session
After this onboarding, you will be familiar with the key settings for:
- Restaurant and contact details
- Team members and permissions
- Communication via email and SMS
- booking widget
- Rooms and areas
- Floor plan
- Reservation and guest labels
- Shifts and online availability
- Guest flow
A. Reviewing basic data
To start, we will review your restaurant's key details and add any missing information.
We will pay particular attention to ensuring your contact and restaurant details are correctly stored. You have already received your login credentials from us:
🔗 Login and first access to foratable
B. Team and permissions
UnderTeam you can determine who has access to foratable and what rights individual employees have.
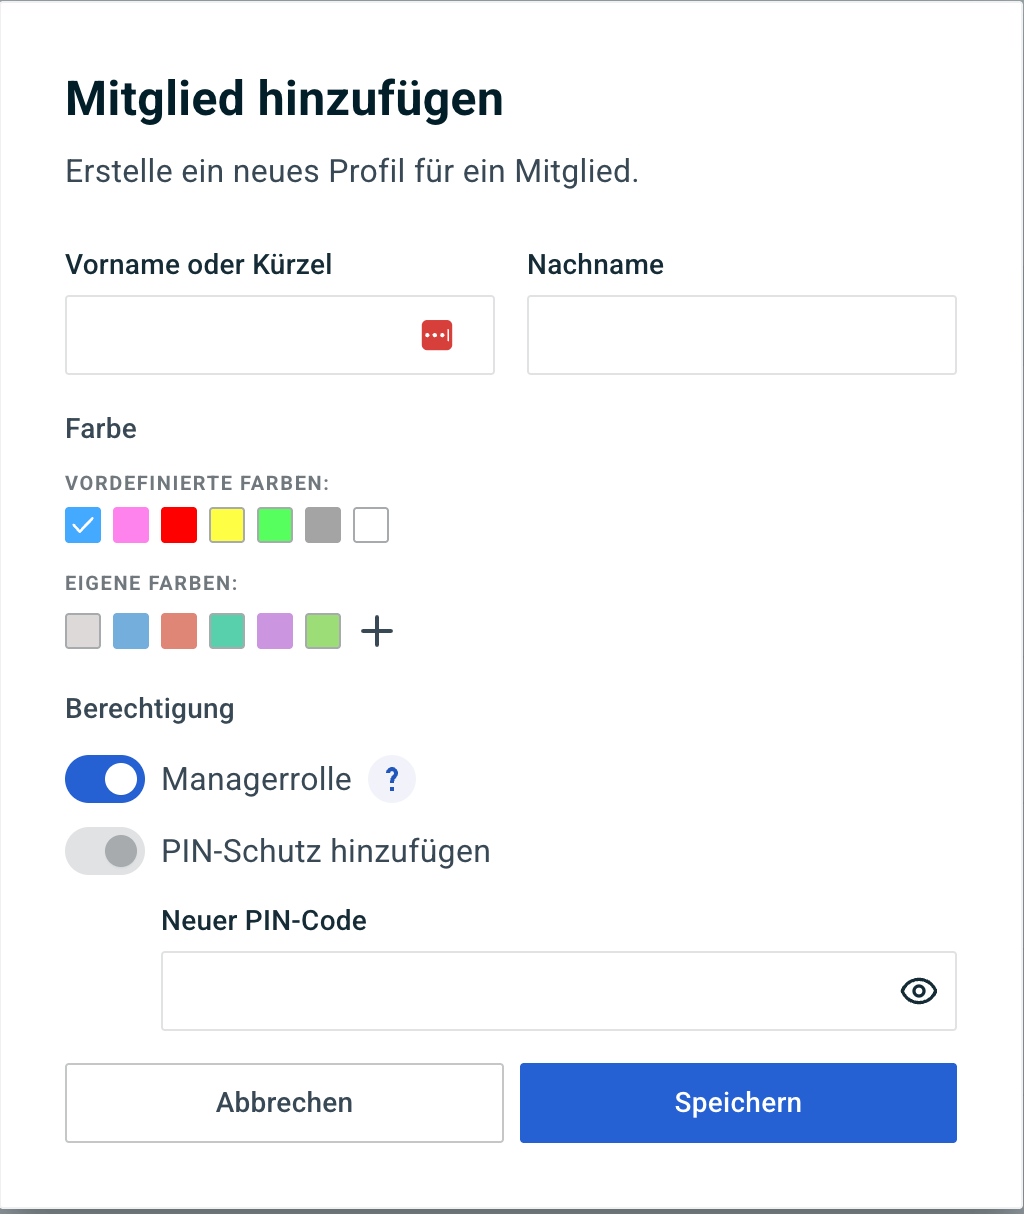
There are various user roles available:
- Admin: full access to the system. By default, this is the person who received the login credentials.
- Manager: limited administrative permissions
- Service: for employees who work primarily with the reservation book
Permissions can be customized individually depending on your business.
C. Communication with your guests
foratable can automatically notify your guests about their reservation.
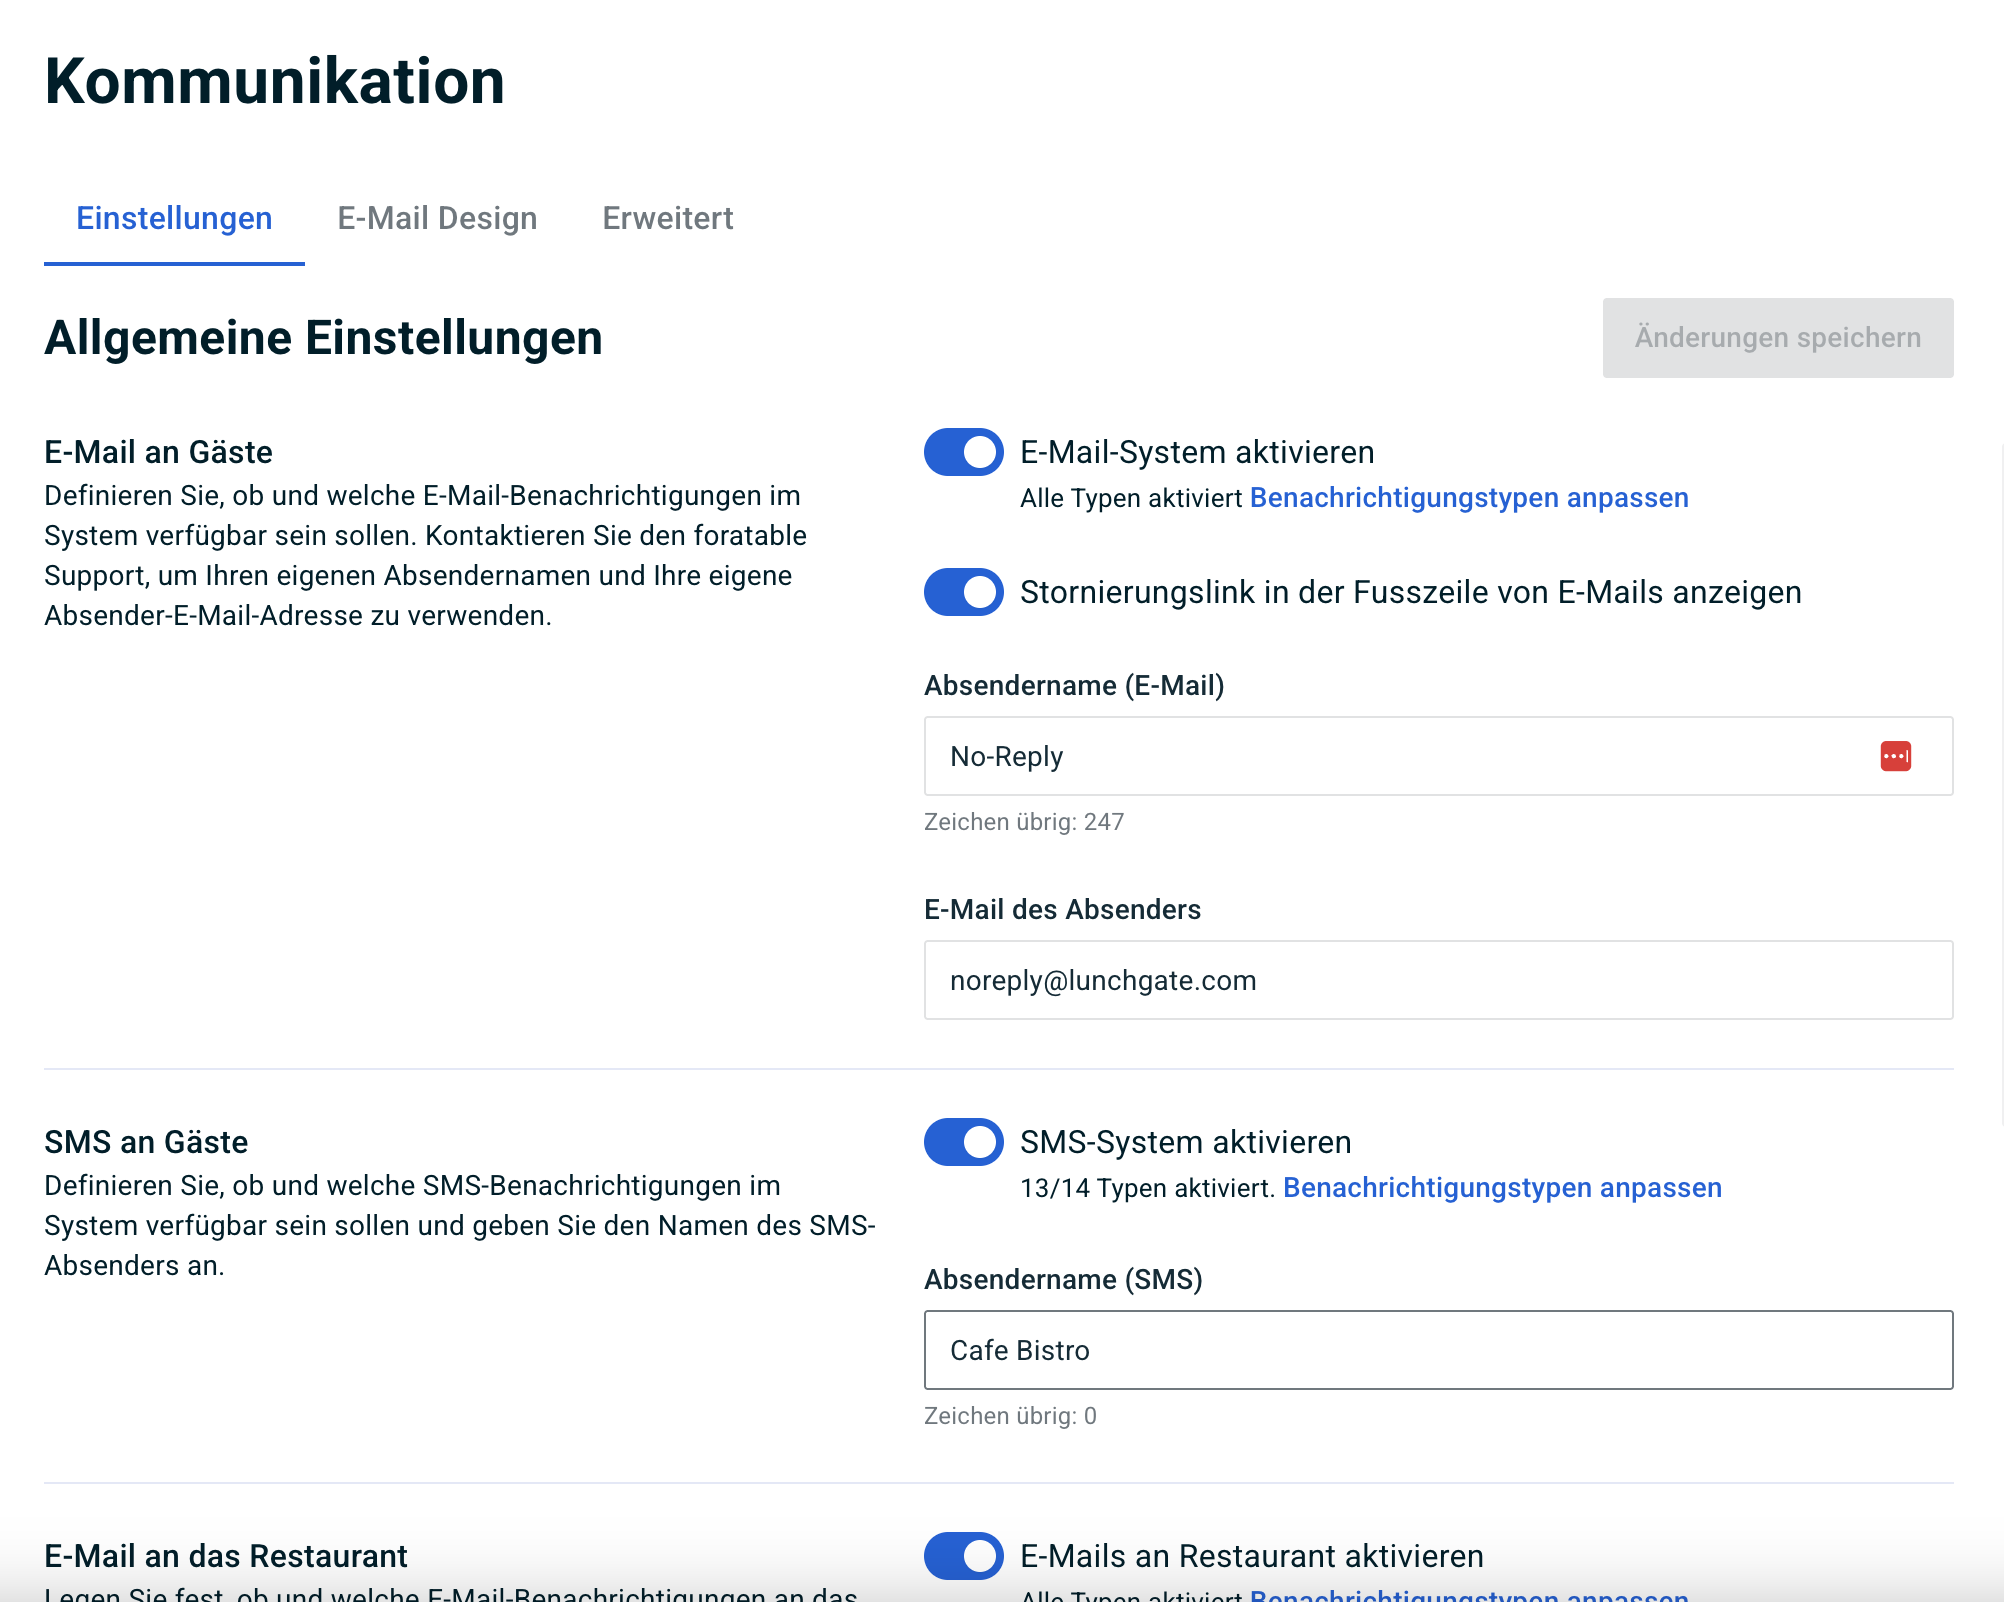
Together, we will review:
- Email confirmations
- SMS confirmations
- SMS verification
- No-show communication
- internal notifications for your restaurant
The existing standard templates can be customized as needed.
Recommendation: Keep SMS verification enabled. This ensures phone numbers are verified during the online booking process, helping you maintain clean guest data.
D. Email design and booking widget
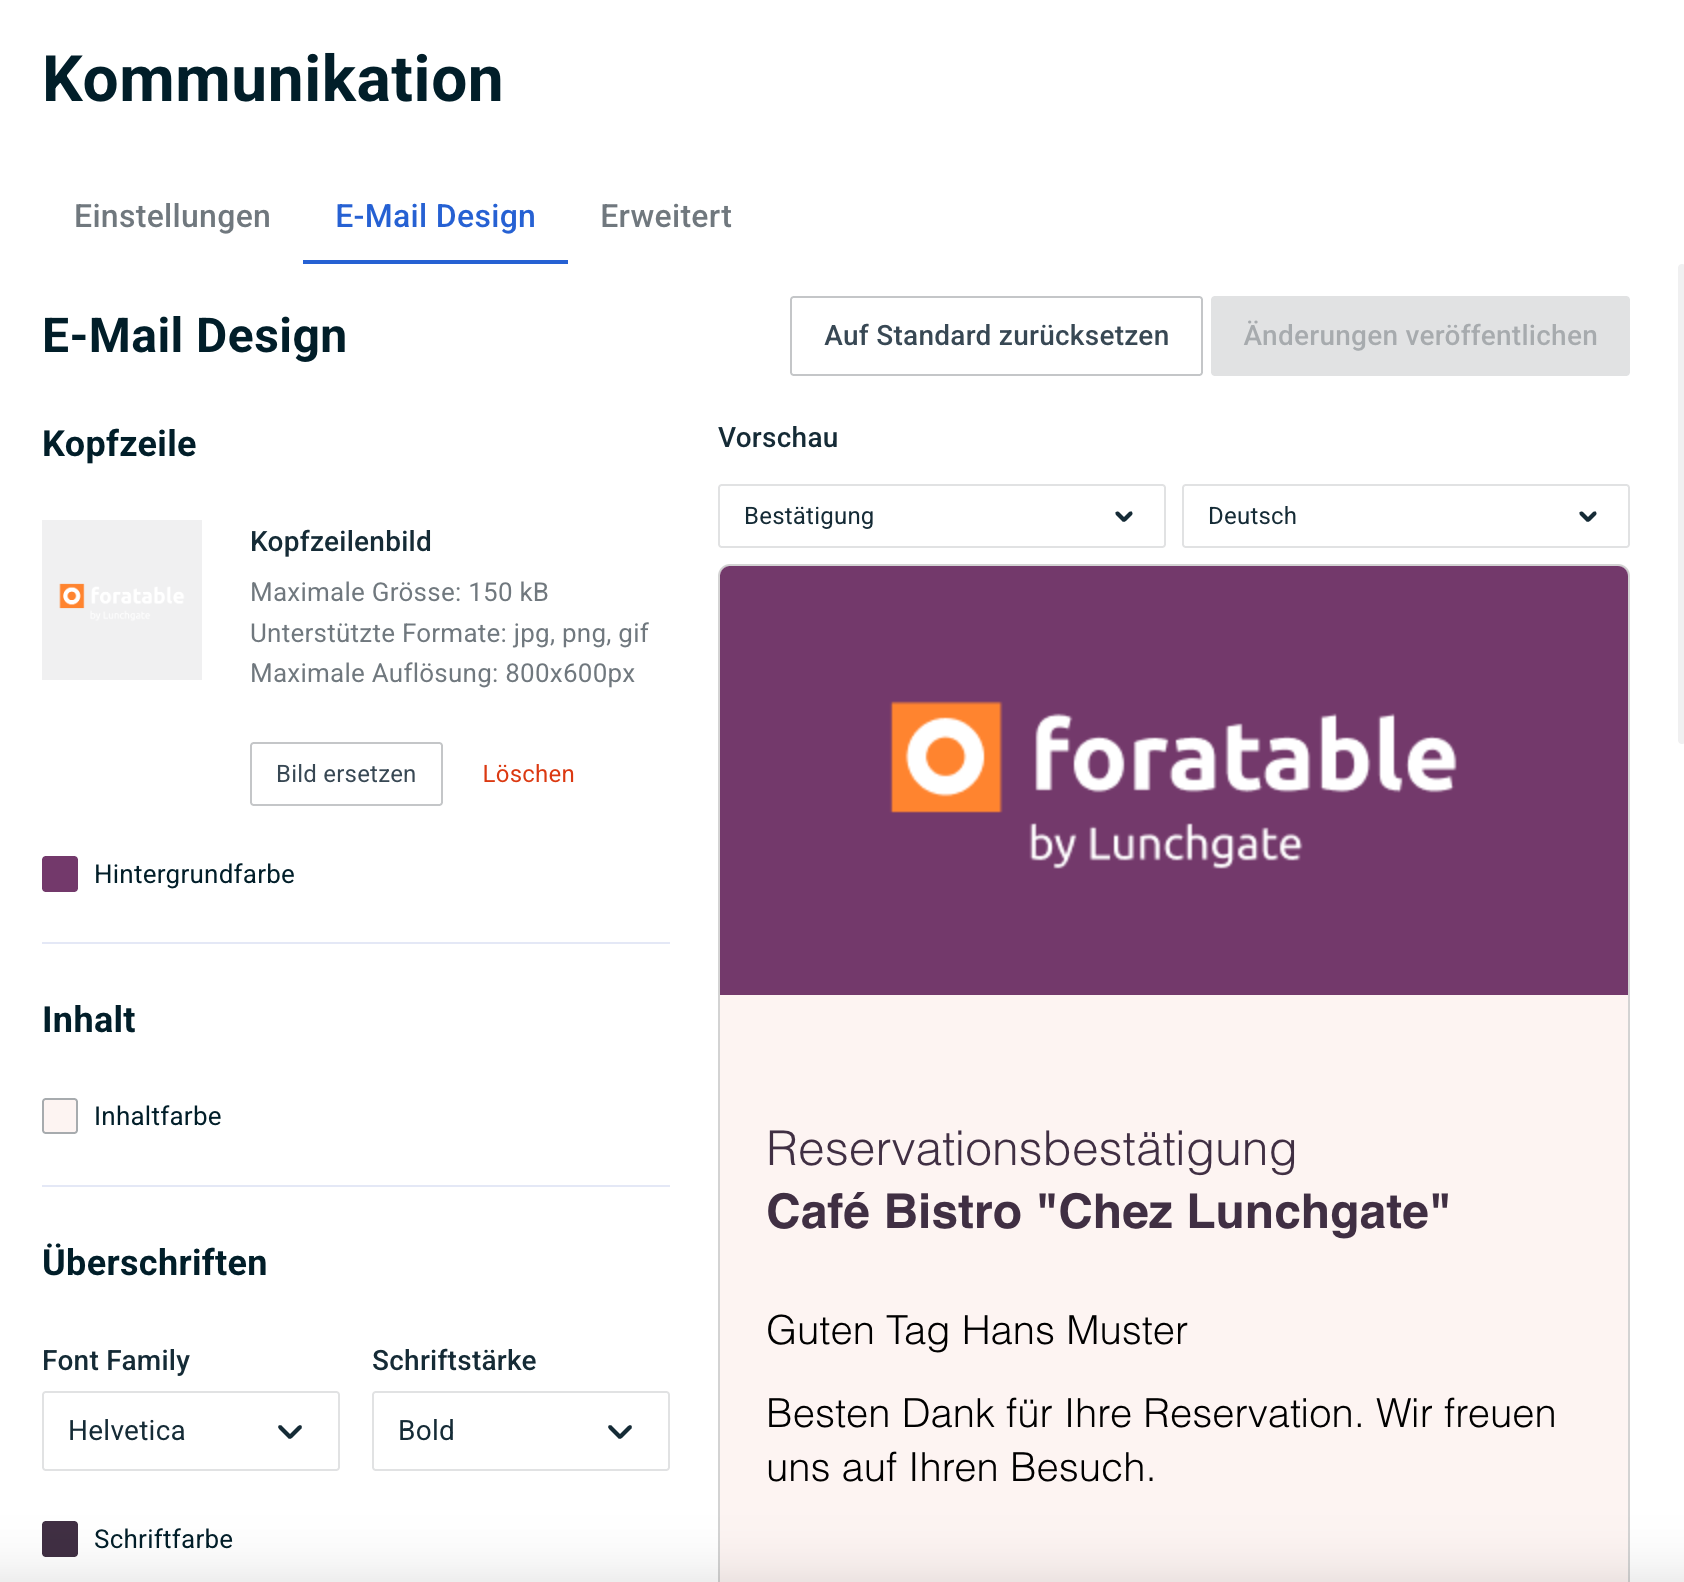
You can customize the logo and design to ensure your communications align with your restaurant's branding.
Configuration > Communication
Your booking widget can also be configured, for example with:
- Welcome text
- Brand-compliant colors
- Light or dark mode
Configuration > Widget
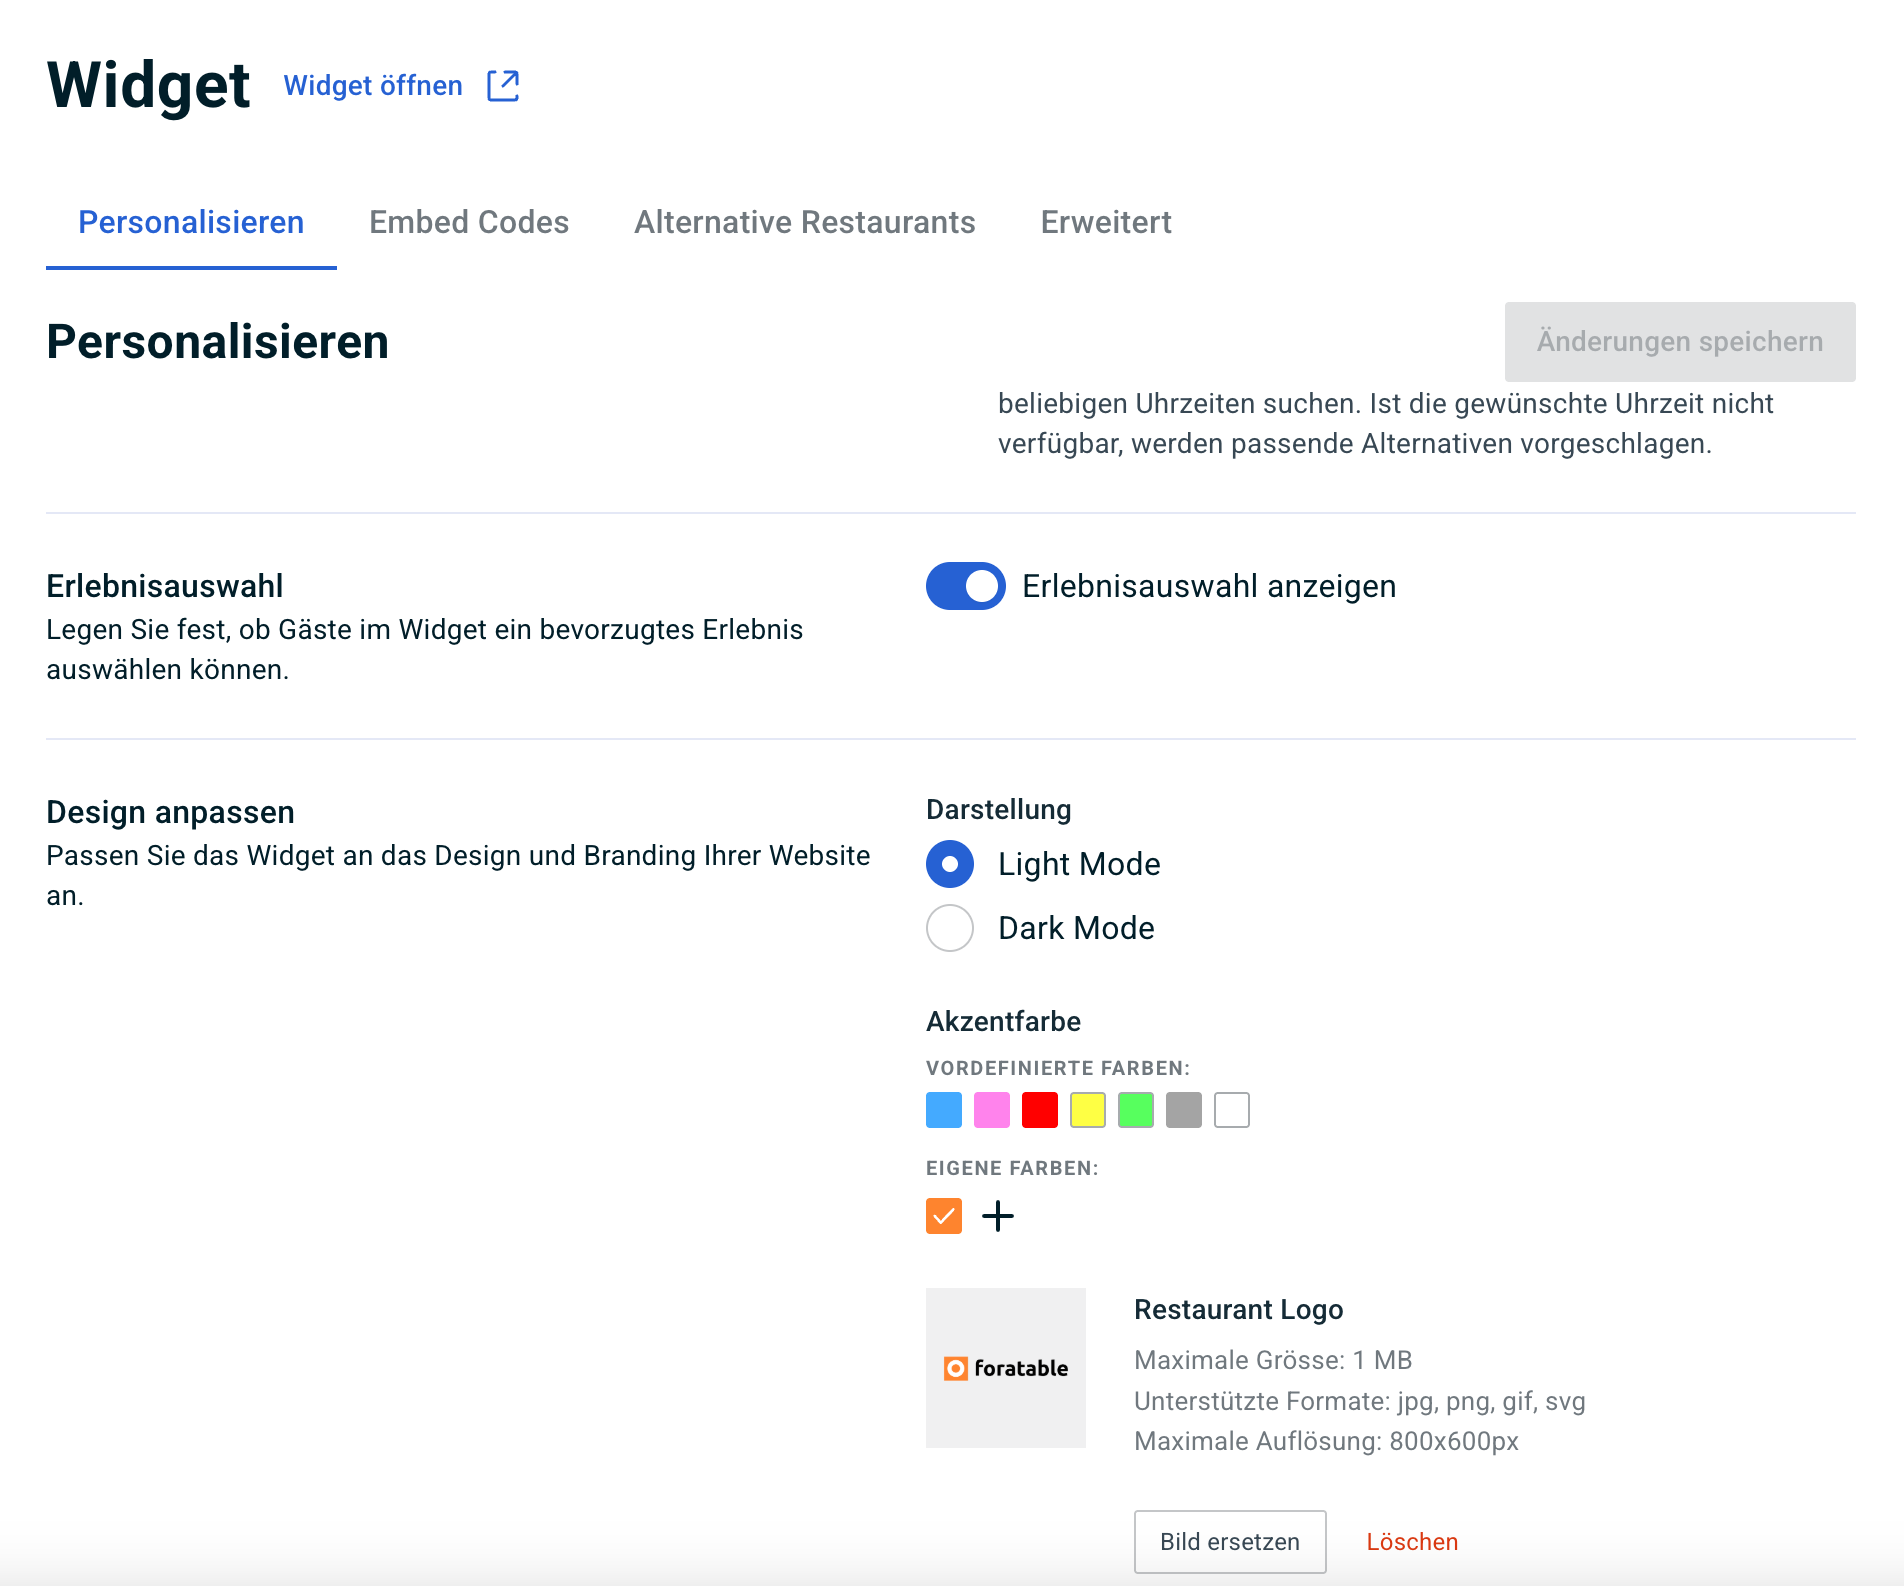
You will then receive the integration code for your website, which you can share directly with your webmaster.
Recommendation: Use the pop-up integration if possible. This keeps the guest on your website throughout the entire booking process.
You can also add the link to your booking widget to your social media profiles, such as Instagram.
E. Setting up areas and experiences
Before configuring your floor plan and bookable offers, you need to define the structure of your restaurant.
Areas are used for the internal organization of your floor plan. They help you group tables and keep your operations organized. These areas are not visible to guests.
Configuration > Areas
Examples of areas:
- Indoor area
- Terrace
- Bar
- Ground floor
- Upper floor
Experiences are bookable offers or spaces that you can display to your guests in the reservation widget. Guests can specifically select these during the reservation process.
Configuration > Experiences
Examples of experiences:
- Brunch
- Business lunch
- Fondue evening
- New Year's Eve menu
- Wine cellar
F. Configure floor plan
You can map out your restaurant space using the graphical floor plan.
The previously defined Areas are displayed here, allowing you to create and organize the floor plan for each area separately.
You can:
- Add tables
- Define table sizes
- Move and align tables
- Add elements such as windows or partitions
- Define table combinations for automatic table assignment
The floor plan can be adjusted at any time, for example, to accommodate seasonal changes.
G. Reservation and guest labels
Labels help your team identify important information at a glance.
Reservation labels apply to a single reservation, for example:
- High chair
- Wheelchair
- Birthday
- Dog
Guest labels remain permanently saved in the guest profile, for example:
- VIP
- Vegan
- Allergy
- Regular guest
This allows you to provide even more personalized service to guests during future visits.
Would you like to learn more about how to effectively use reservation and guest labels?
→ To the webinar: Labels in foratable (in German)
H. Configuring shifts
Once rooms, areas, and the table plan are set up, you can create bookable shifts.
In doing so, you define, among other things:
- Lunch and dinner service
- Opening and booking hours
- last booking time
- maximum group size
- Duration of stay
- Capacities
- Reservation lead time
- Cancellation deadline
This section is also where the automatic table assignment is configured.
Setting guest flow
With guest flow, you can control how many guests are able to book within a specific time window.
This helps you avoid, for example, too many guests arriving at the same time, which can put unnecessary strain on the kitchen or service staff.
Your basic configuration is now ready. The second training session covers daily operations with the reservation book: recording and editing reservations, seating guests, blocking shifts, managing feedback, and much more.