The main view in the reservation book
- Choose from four different views – table grid, timeline, list view, or graphical floor plan – and customize your reservation book to fit your daily workflow.
- Manage your reservations directly in the main view, add new bookings, and keep track of assigned tables and checked-in guests.
- Optimize your service with custom settings, service notes, and the display of guest and reservation labels directly in the floor plan.
This feature is available to you with the foratable Professional plan.
The main view is the central workspace in foratable and the first thing you see after logging in.
You can define which view is displayed by default under:
Configuration → General → Default view
There are four different views available to you:
- Table grid
- timeline
- list view
- Graphical floor plan
Depending on your preferred way of working, you can switch between views at any time.
A. Table grid
Thetable grid offers you a quick overview of your tables and their availability.
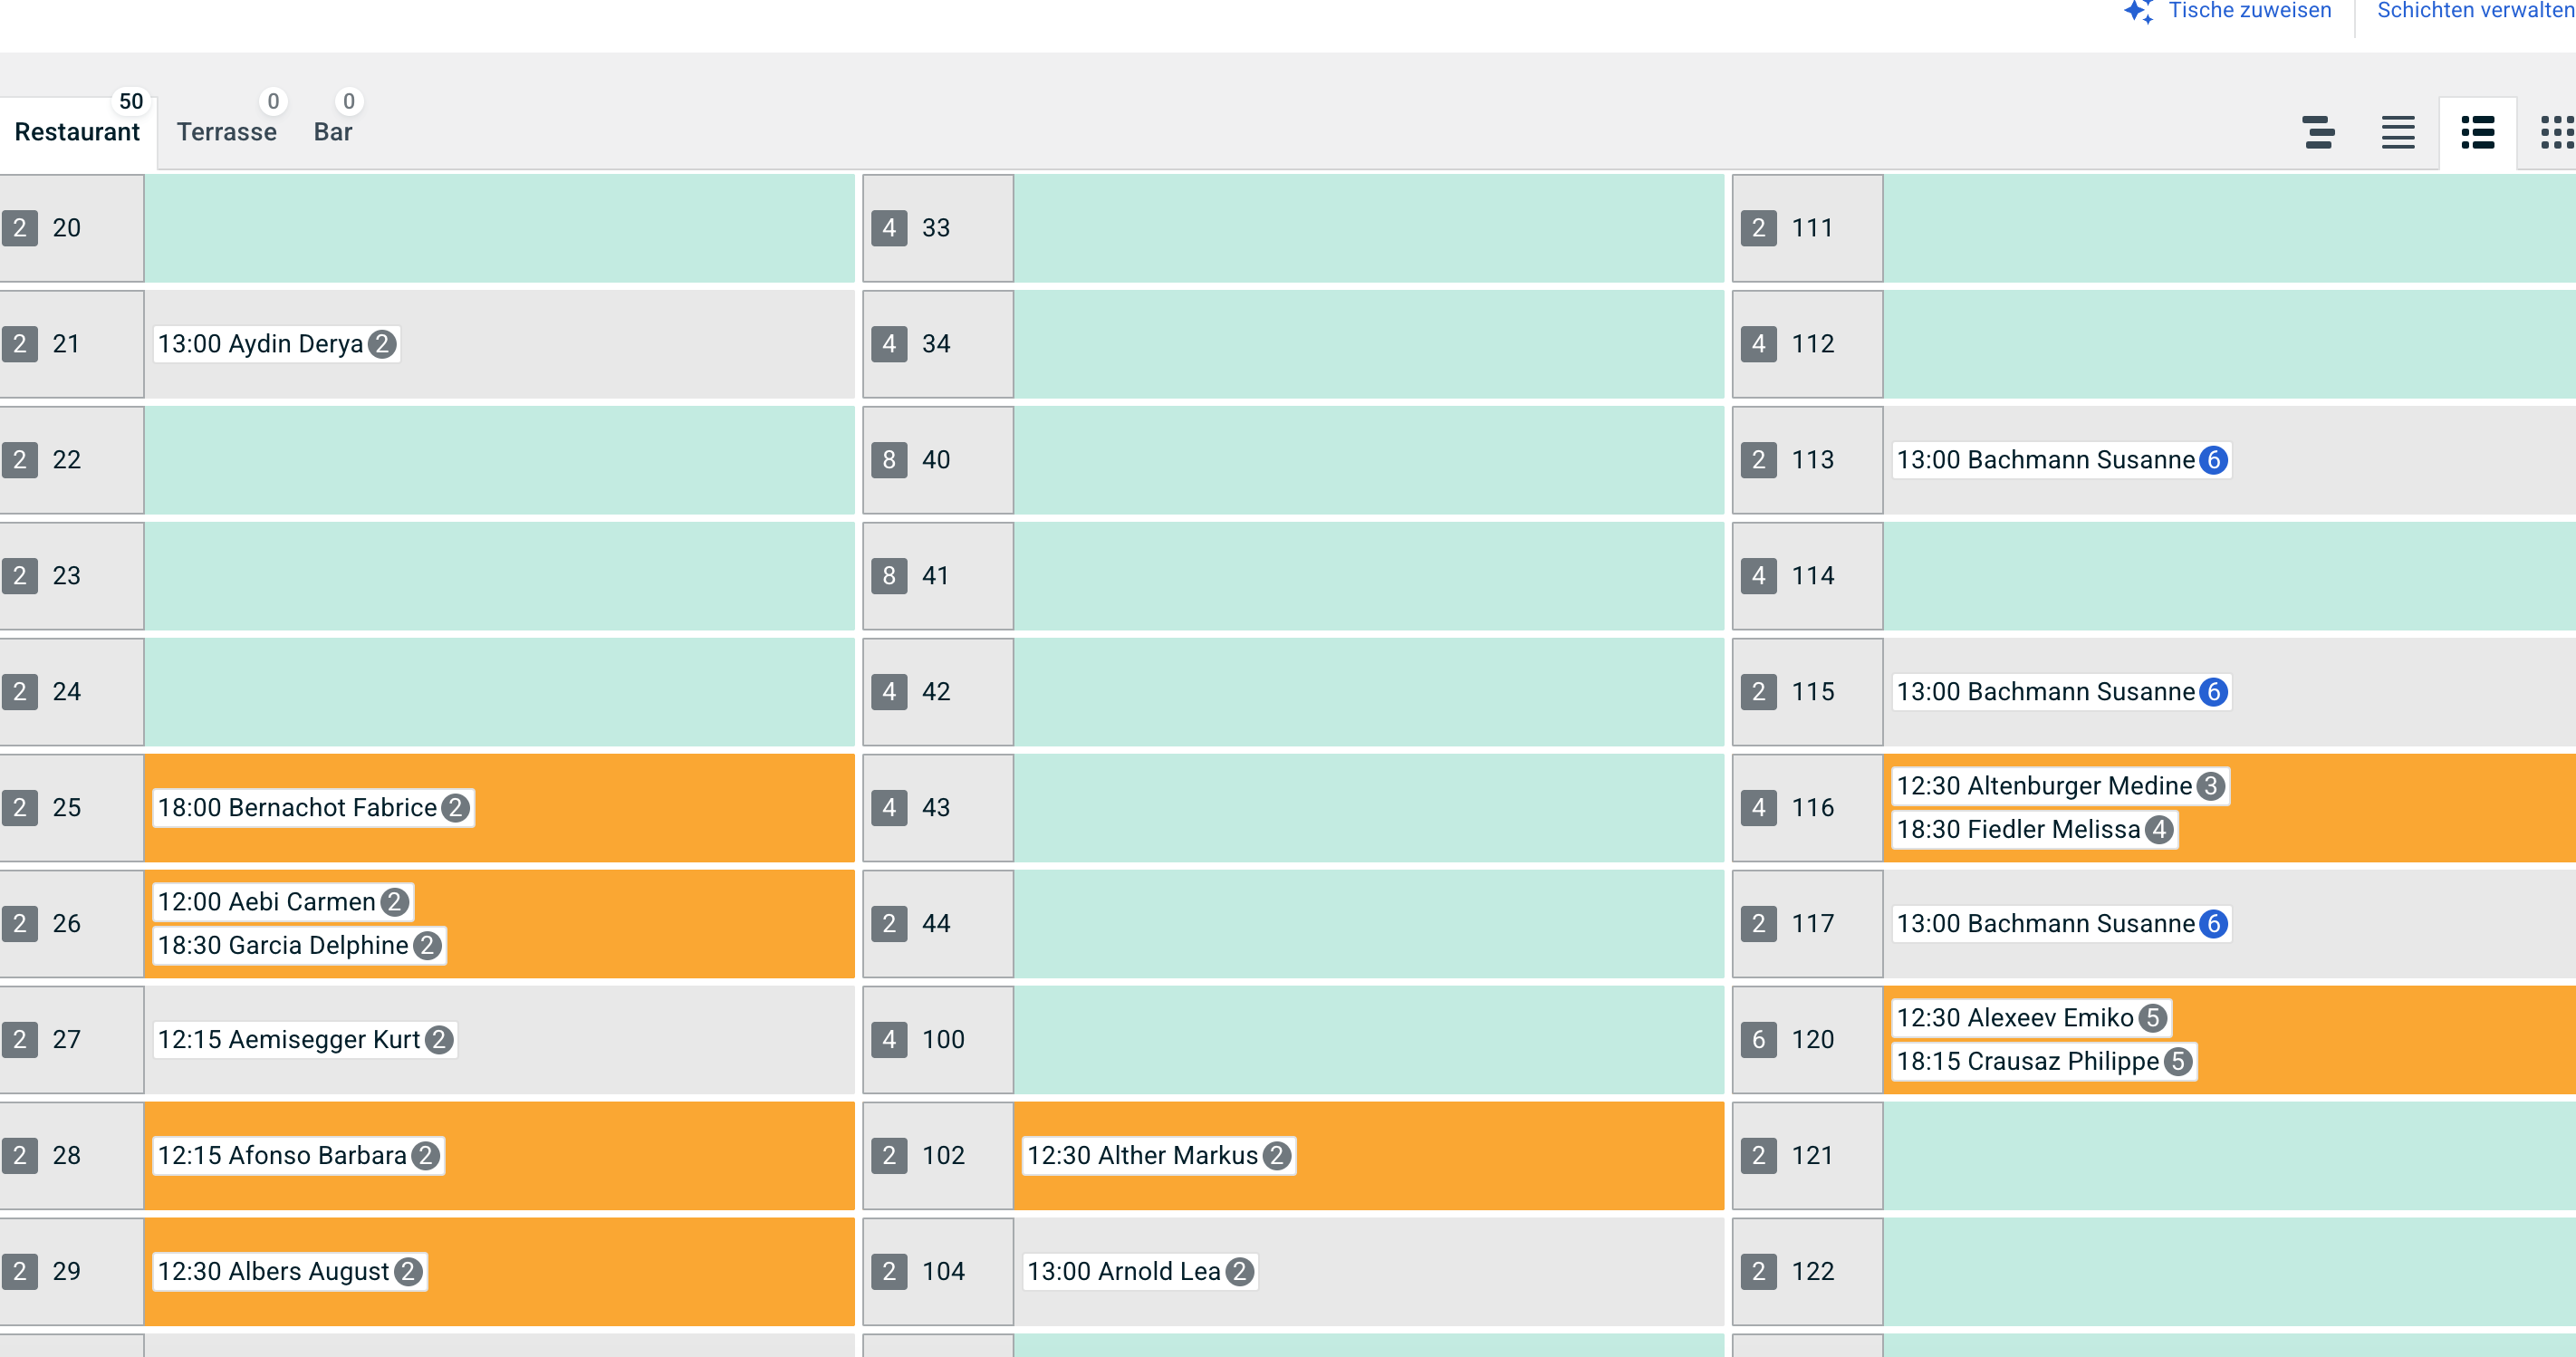
You can see at a glance where capacity is still available and which tables are already occupied or reserved.
You can adjust the order of the tables under:
Configuration → Tables → List view
This allows you to display the table in an order that makes sense for your team's daily operations.
B. List view
In the list view your reservations take center stage.
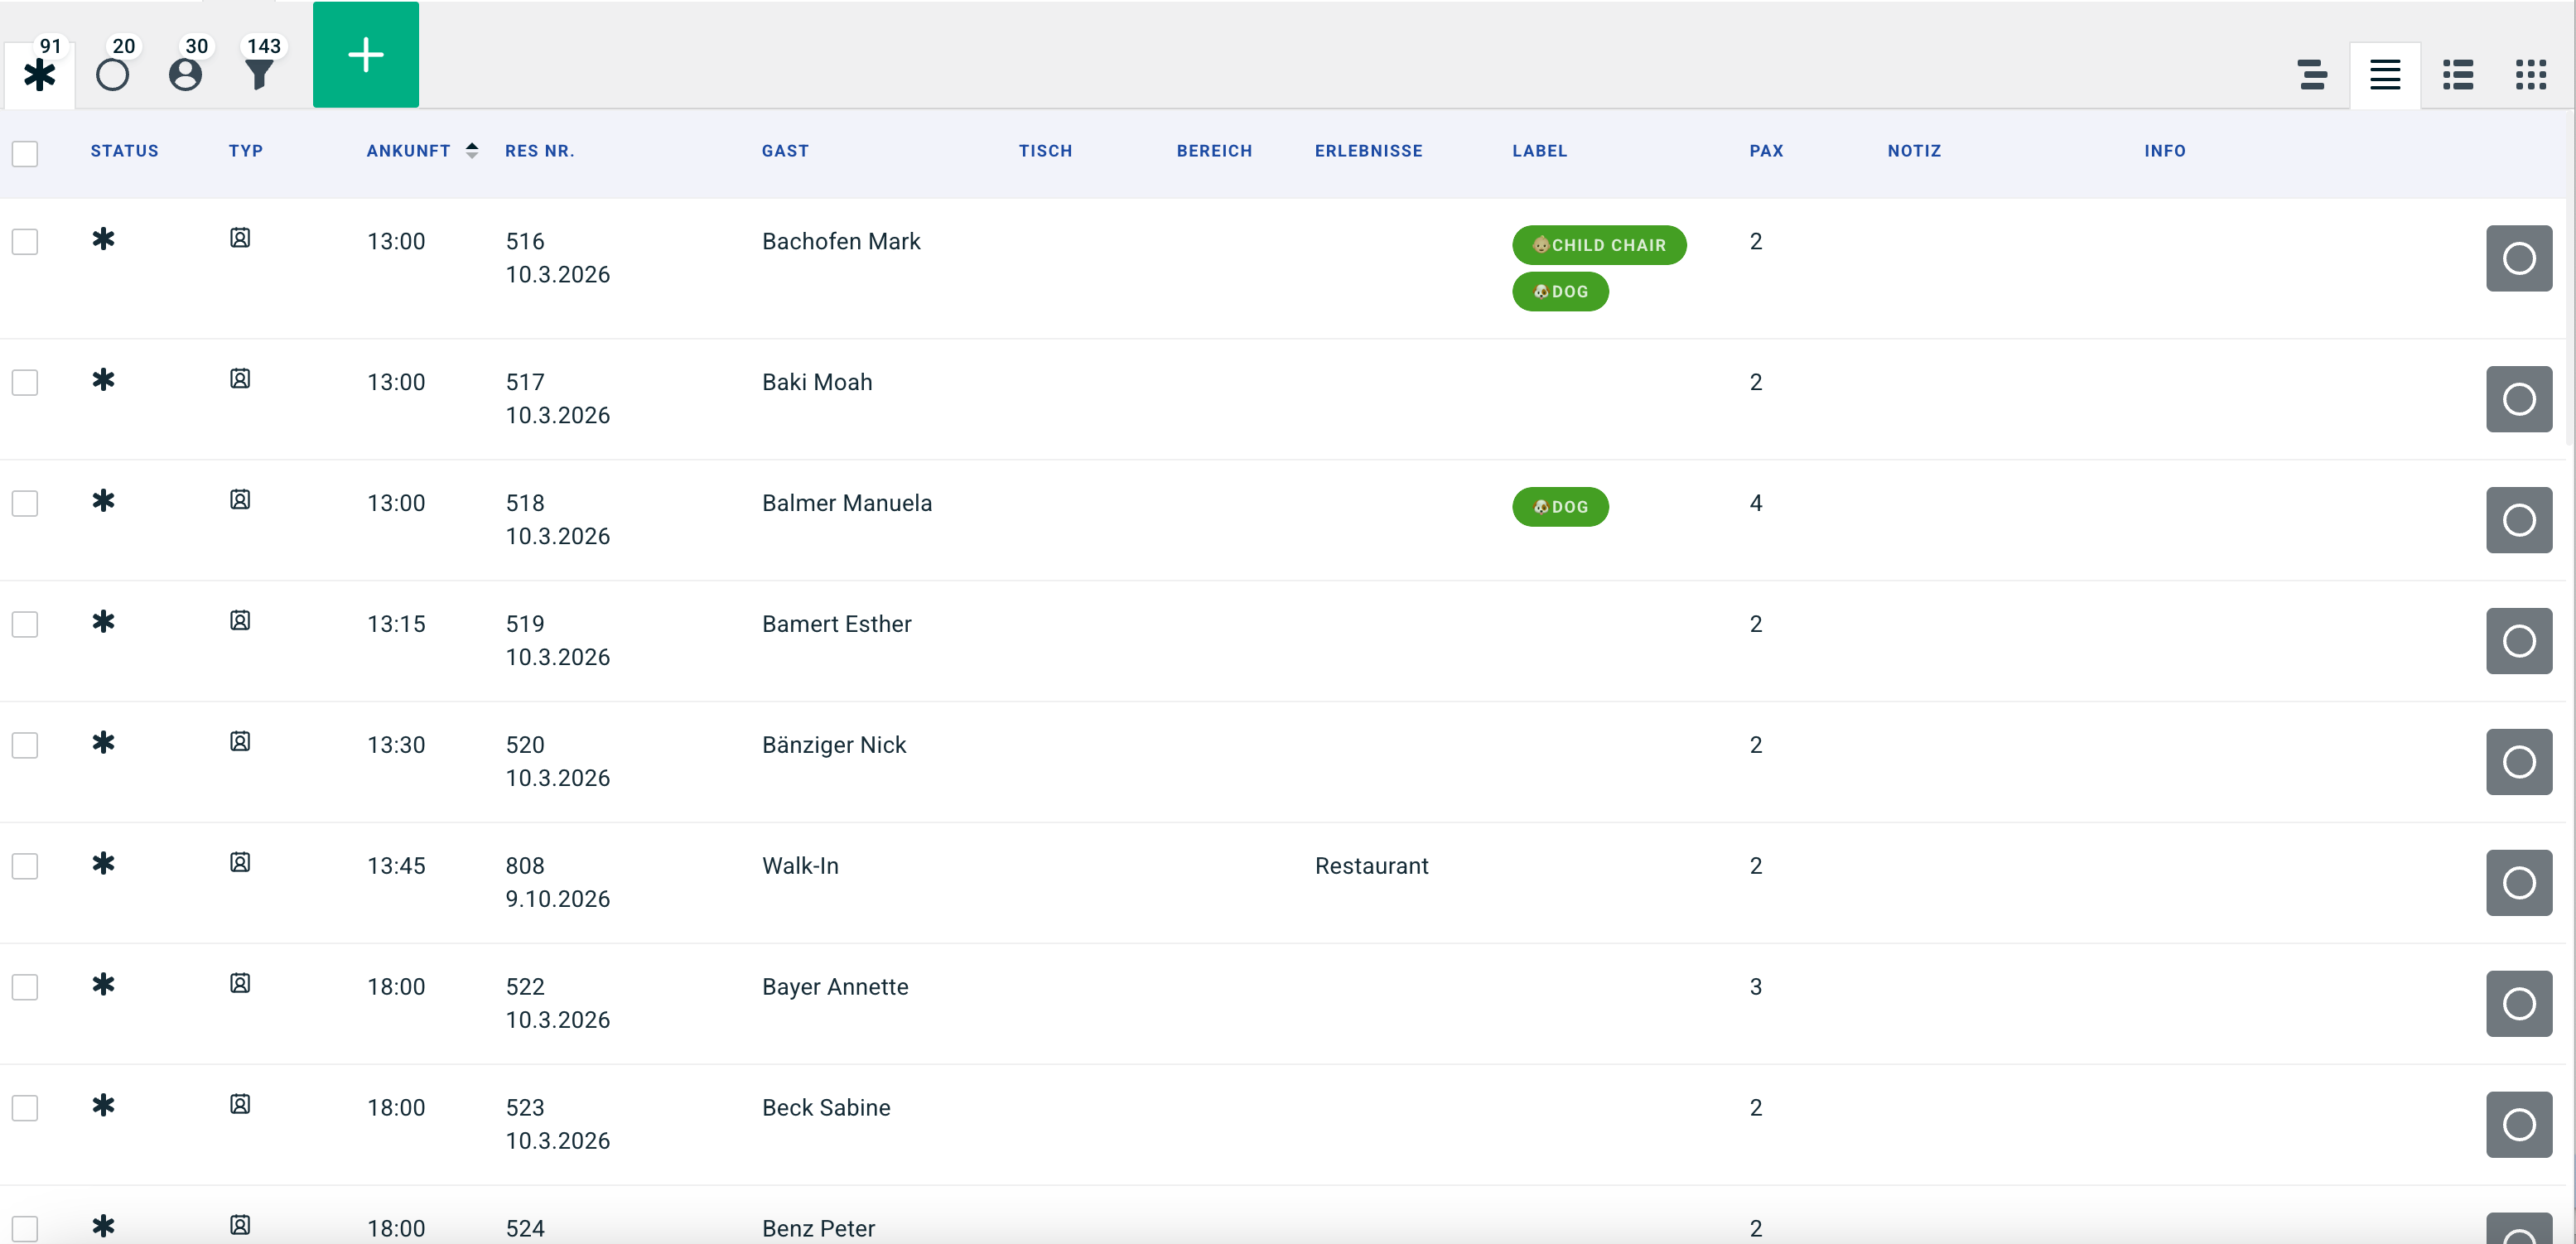
The main advantage of this view is the available bulk actions. These allow you to select multiple reservations at once and perform specific actions in bulk.
This view is particularly useful when you need to quickly edit or organize a large number of reservations.
C. Timeline
Thetimeline shows you your reservations across different time slots.
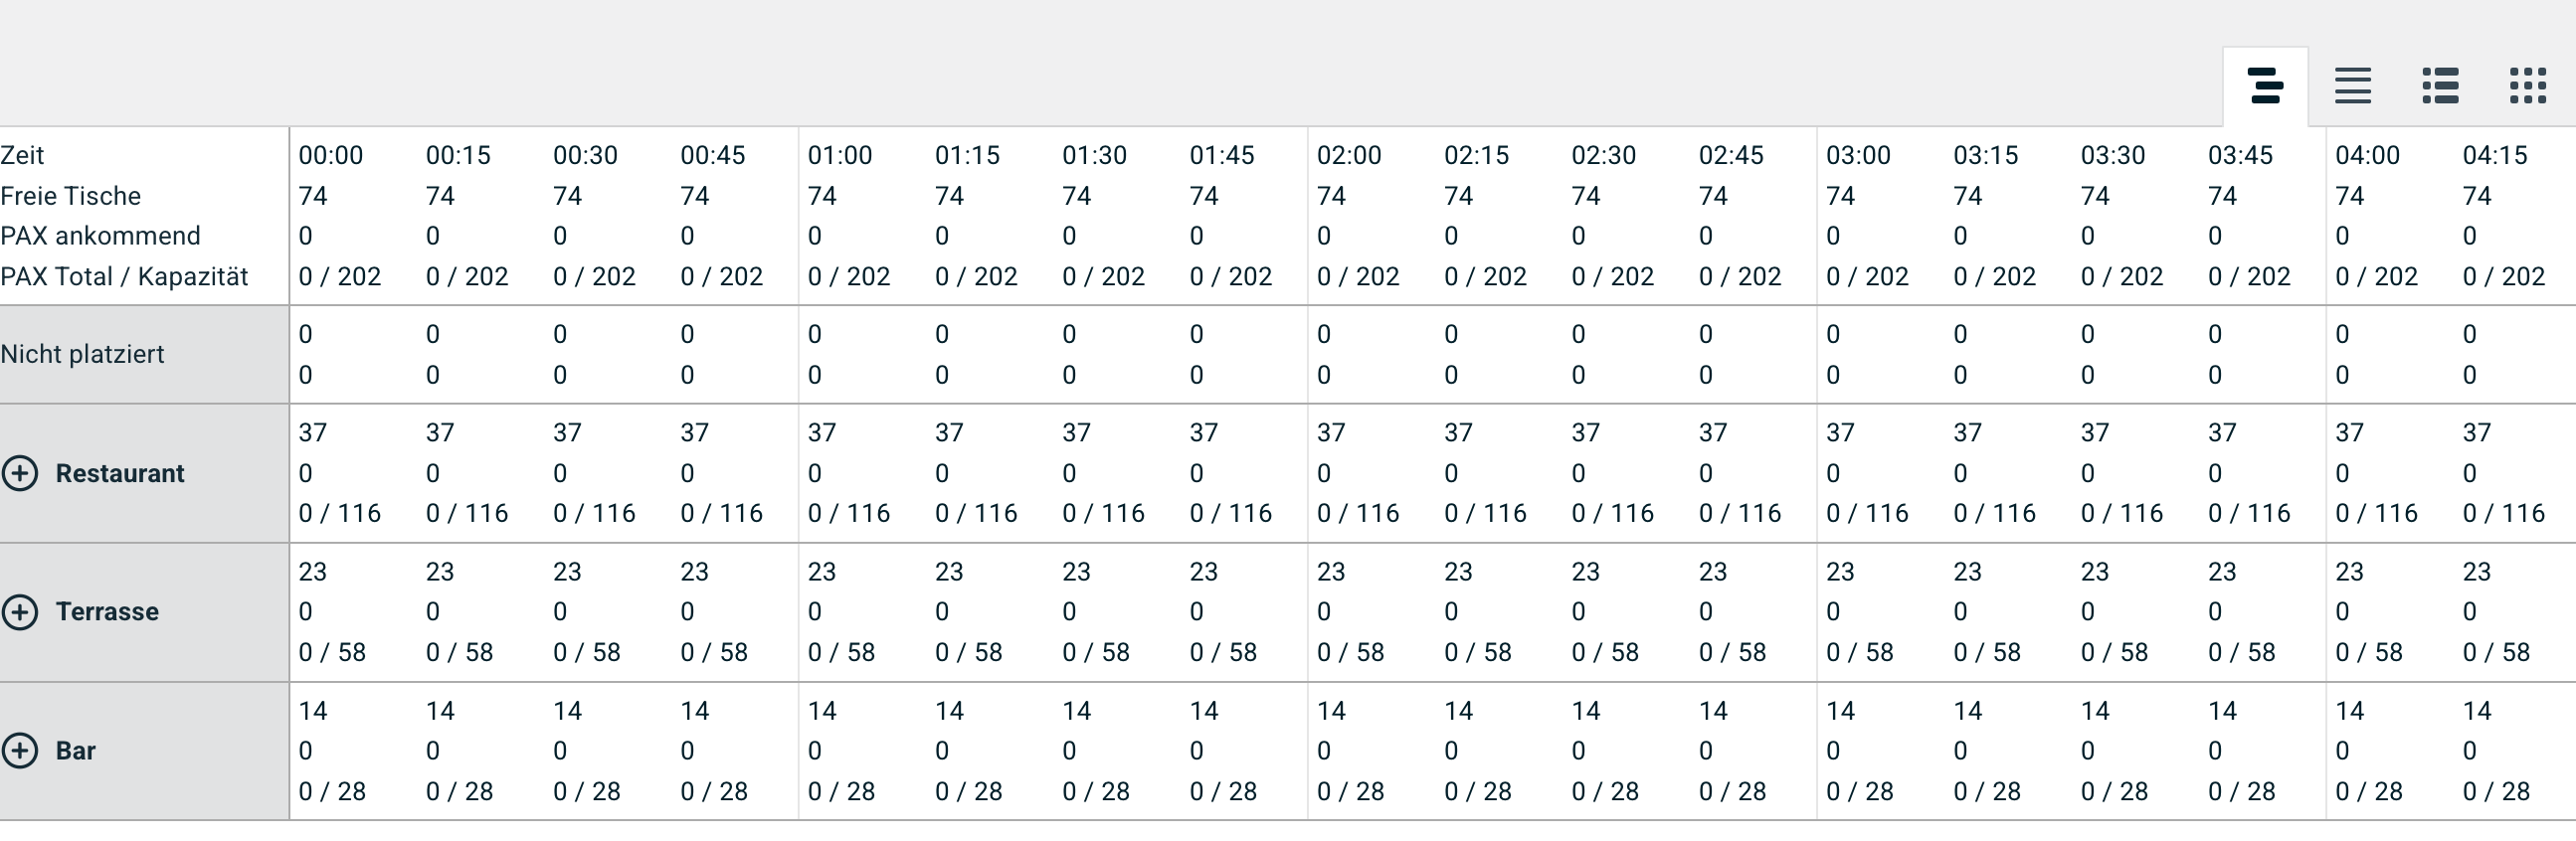
This allows you to quickly see:
- when guests are arriving
- how long tables are occupied
- which time slots still have capacity
This view is especially helpful when you want to assess occupancy throughout the entire service.
D. Graphical floor plan
The graphical floor plan displays your restaurant exactly as you see it on-site.
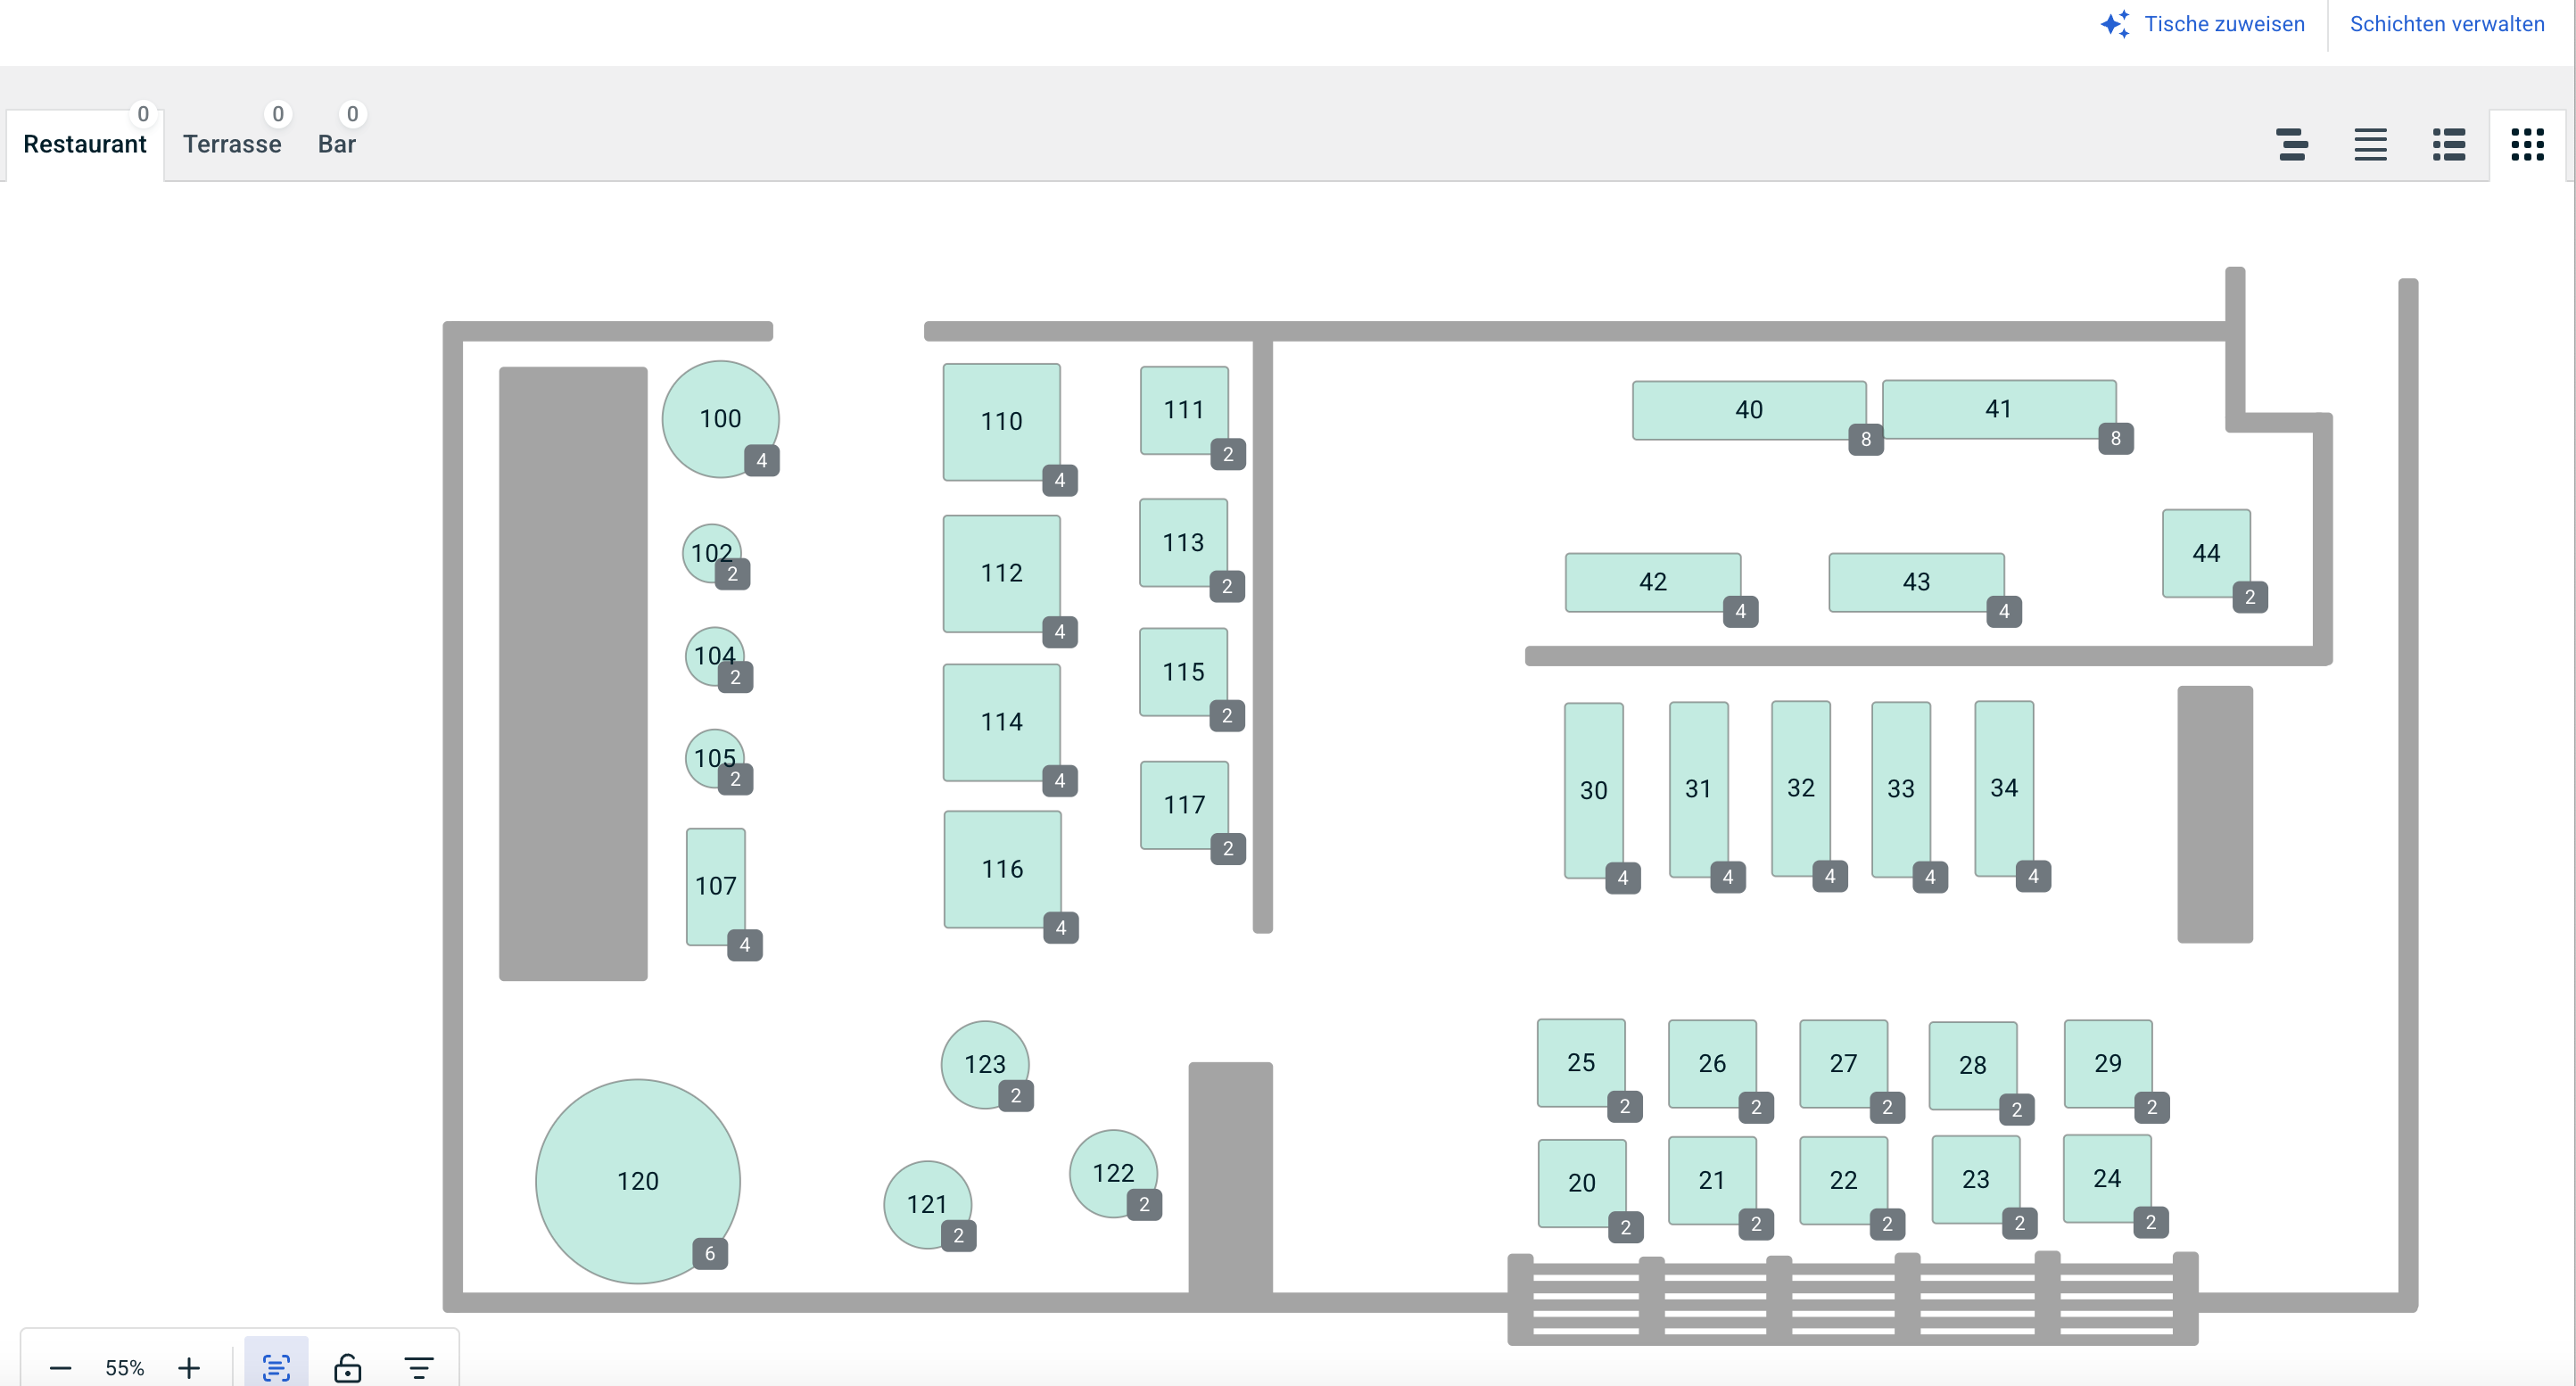
Our team highly recommends this view, as it is very intuitive for the service staff.
You can see at a glance:
- which tables are available
- which tables are reserved
- where guests have already been seated
- which guests are currently in the restaurant
This visual overview is particularly practical during active service.
Move reservations directly in the floor plan
You can easily move reservations in the graphical floor plan using drag & drop .
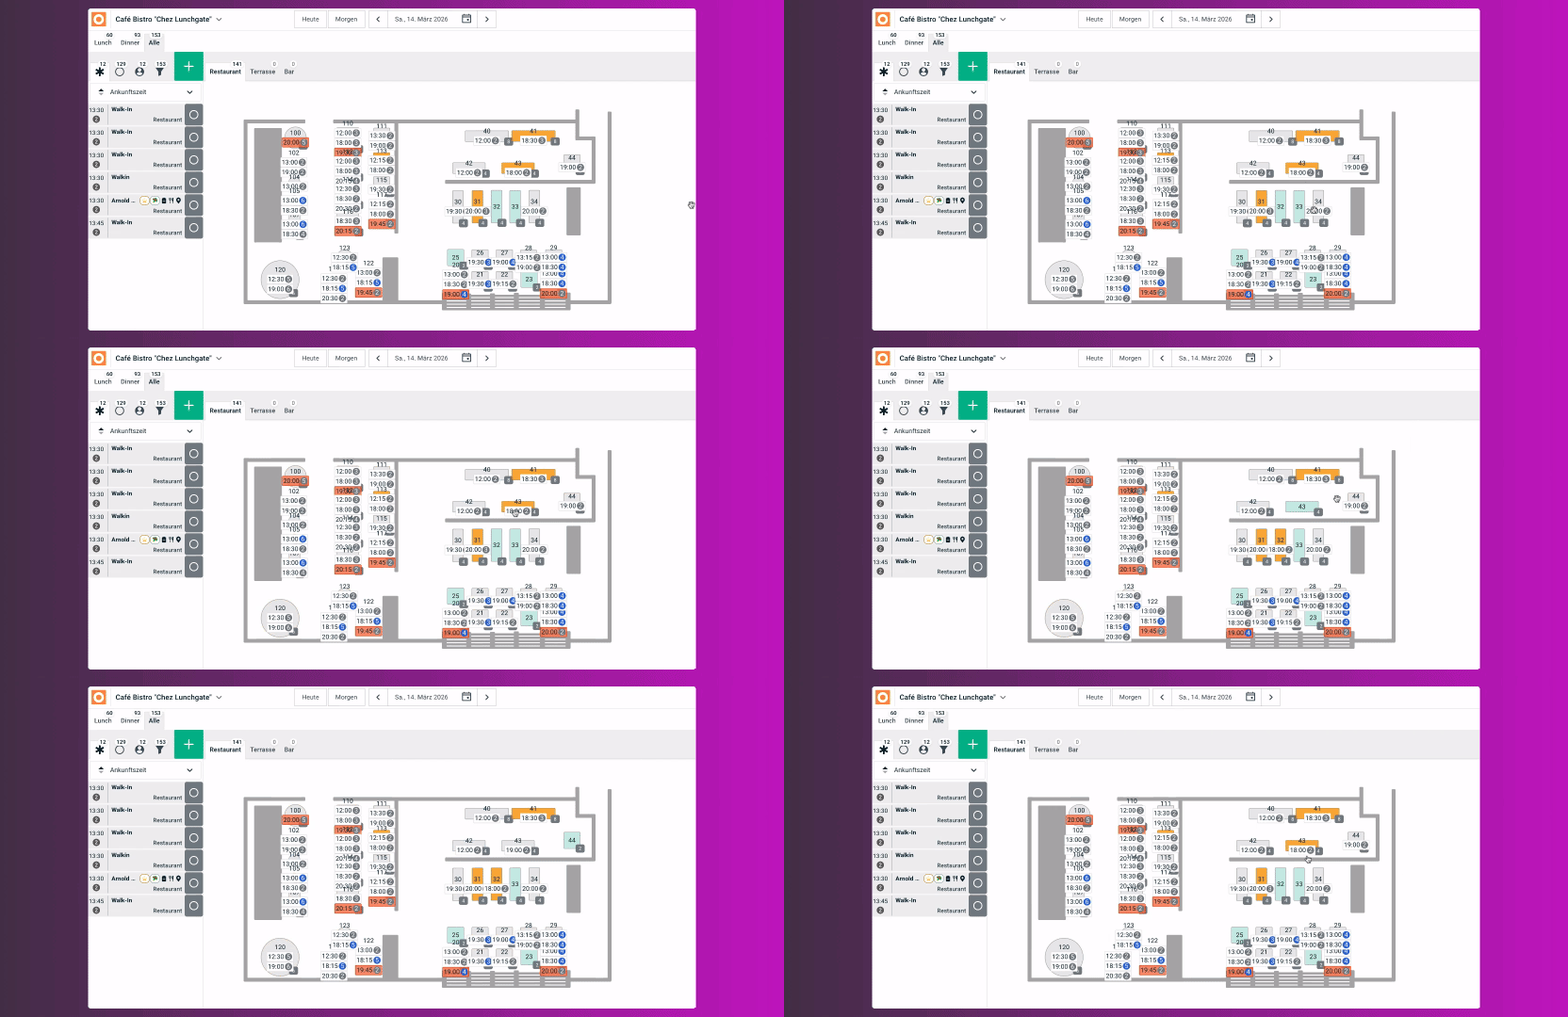
Click on the desired reservation, drag it to the new table, and drop it there.
Alternatively, you can click on a reservation and then select the desired table.
This allows you to make table changes and last-minute adjustments quickly and directly within the floor plan during service.
E. Quickly create a reservation
In all four views, you will find the green plus.
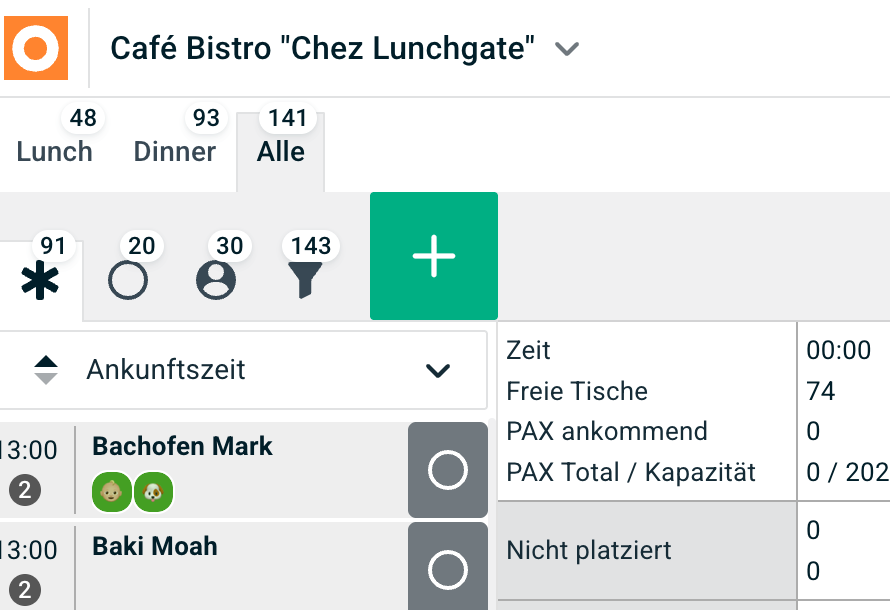
This allows you to quickly create a new reservation at any time.
This way, you don't have to leave your current view and can respond directly to phone or in-person reservation requests even while service is underway.
F. Status of your reservations
To the left of the green plus sign, you will find 4 different icons used to group reservations by their current status.
Star (*)
The Star shows newly received reservations that have not yet been assigned to a table.
Circle (◯)
Under the Circle you will find reservations that have already been assigned to a table.
Person (👤)
The person icon shows guests who have arrived at the restaurant and have been checked in.
Funnel
The Funnel shows you all reservations regardless of their current status.
This means that reservations from all three status groups are combined here:
- Star: reservations not yet seated
- Circle: reservations already seated
- Person: checked-in guests
This gives you a complete overview of all current reservations in one view.
G. Switching between service periods
Above the reservation status and the green plus sign, you will see your various service periods.
These correspond to the services you previously set up in the configuration.
For example:
- Lunch
- Dinner
- Brunch
Select the desired service period to view only the relevant reservations and capacities.
H. Add service note
For a selected service period, you can directly add a service note.
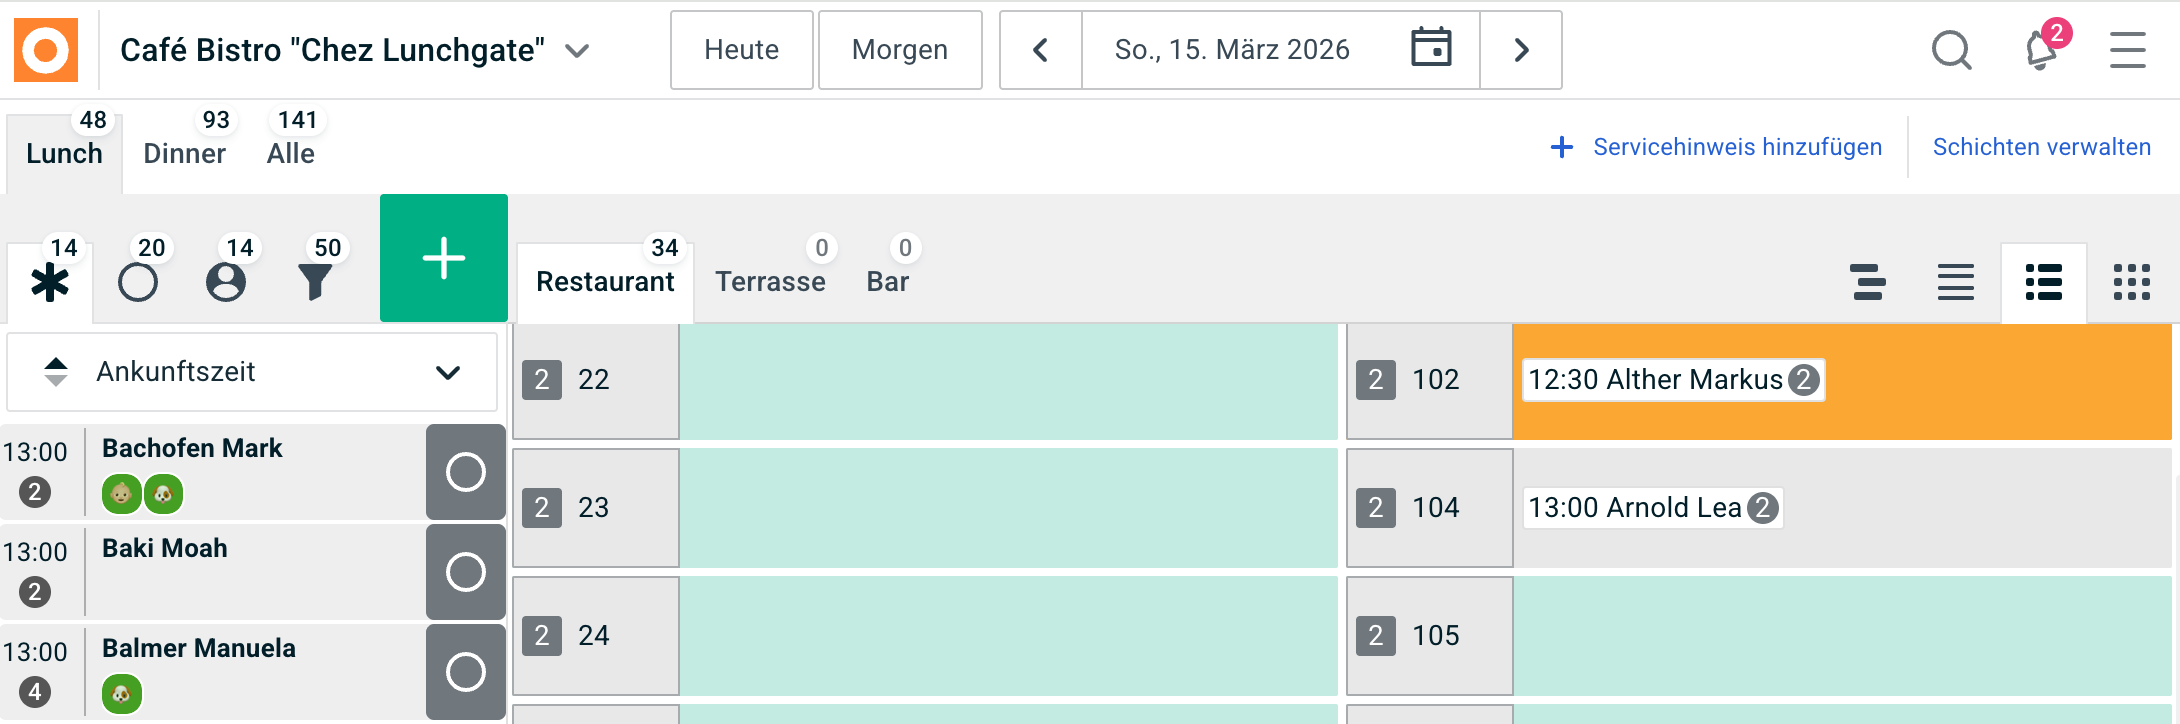
Important: To add a service note, you must select a specific service period. This feature is not available in the "All" view.
A service note is internal information for your team and applies to the respective service.
For example:
- "Tiramisu sold out"
- "Terrace closed today"
- "Large group from 7:00 PM"
- "Head chef out today"
This ensures your team has important information available right where they manage reservations.
Important: If the same note should apply to multiple service periods, you must add it separately for each one.
I. Displaying information in the graphical floor plan
In the graphical floor plan, you will find additional settings in the bottom right corner that allow you to customize the view to your needs.
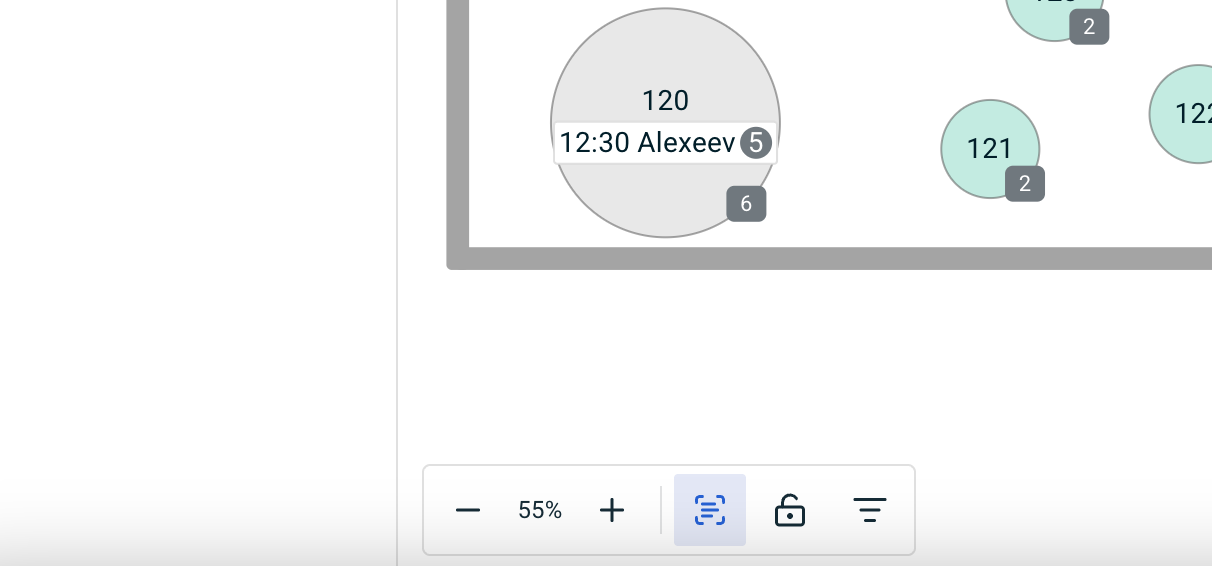
Zoom
Use the zoom function to enlarge or shrink the floor plan.
This is particularly useful for larger floor plans or when using different screen sizes.
Adjust font size
You can adjust the font size of the information on the tables increase or decrease individually.
This ensures that the information displayed is easy for your service team to read.
Lock navigation
With the Lock navigation feature, you can prevent the floor plan from being moved accidentally.
This is particularly useful during active service when your team is frequently working with the graphical floor plan.
Display information on tables
You can use the dropdown menu to determine which information should be visible directly on the tables.
Options include, among others:
- Time
- First name
- Last name
- reservation labels
- Guest labels
This allows you to tailor the view to your service team's needs and make important information visible directly in the floor plan.
Our recommendation
Test the different views and decide together with your team which layout best suits your workflow.
For active service, we particularly recommend the graphical floor plan, as your team can grasp the situation in the restaurant at a glance.
Additionally, use guest and reservation labels so that important information is visible directly on the floor plan.